

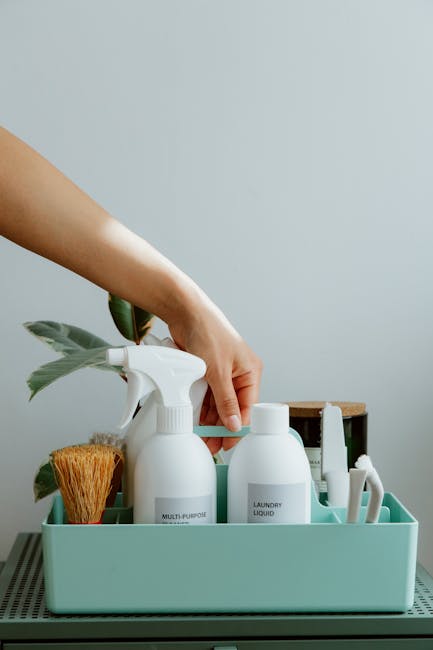
The first time I cleaned my apartment “pet-friendly,” I felt so proud… until I watched my dog lick the floor right after. That’s when I realized the problem isn’t just what you use—it’s also how you use it and what residue is left behind. In 2026, more pet owners are looking for DIY pet-safe cleaning at home because the same harsh chemicals that cut grime can irritate noses, paws, and skin.
DIY pet-safe cleaning at home is about choosing safer ingredients, mixing them the right way, and giving surfaces time to dry and air out. Below, I’ll share non-toxic product options, simple recipes I actually use, and a clear list of what to avoid (including the common mistakes that cause the most trouble).
Pet-safe cleaning basics (the quick rules that prevent most accidents)
Most “cleaning injuries” happen because a cleaner was used too fast, too strong, or on the wrong surface. Pet-safe cleaning is less about magic ingredients and more about safe contact time, proper rinsing, and dry floors.
Here are the rules I follow every single time:
- Keep pets out until fully dry: If the surface is still wet, don’t let them walk through it. Wet cleaner = more licking and paw transfer.
- Ventilate: Open windows or run a fan for at least 20–30 minutes.
- Use less than you think: More soap doesn’t mean more clean. It usually means more residue.
- Rinse when the cleaner touches food areas: Countertops, bowls, and feeding spots should be rinsed with clean water.
One simple definition helps: Residue is the leftover film a cleaner leaves on a surface after it dries. Even “natural” ingredients can leave residue that pets taste later.
Best non-toxic products for DIY pet-safe cleaning (what works and what’s too harsh)
Non-toxic cleaning doesn’t mean “no smell” or “no power.” It means the ingredients are safer for pets when used correctly. I focus on products that are known, simple, and easy to rinse.
1) White vinegar (great for glass and mineral buildup)
White vinegar is one of my go-to cleaners. It helps with hard water spots, windows, and bathroom grime. Use it at full strength for some jobs, but for daily wiping I usually dilute it.
- Good for: Glass, mirrors, chrome, shower doors, water spots.
- Not ideal for: Natural stone like marble or granite. Vinegar can etch (dull and damage the surface).
2) Baking soda (best for scrubbing without harsh fumes)
Baking soda is mild and abrasive in a gentle way. It’s great for sinks, tubs, and deodorizing carpets.
- Good for: Scrubbing tough spots, absorbing odors.
- Watch for: Don’t use it like a liquid cleaner on delicate surfaces where gritty paste can scratch.
3) Castile soap (gentle, easy to rinse)
Castile soap is a plant-based soap. It’s useful when you need something stronger than water but still rinse clean.
- Good for: Floors, walls, grime removal.
- Tip: Use a small amount so it doesn’t leave sticky residue.
4) Hydrogen peroxide (use carefully, not a “mix-and-match” ingredient)
Hydrogen peroxide is used in pet-safe cleaning when handled correctly. It breaks down into water and oxygen, but concentration matters.
- Good for: Some disinfecting tasks and spot cleaning.
- Important: Never mix it with vinegar or other cleaners. Don’t spray heavily and leave it wet.
5) Enzyme cleaners (best for accidents and smells)
Enzyme cleaners are a lifesaver when you’re dealing with pet accidents. They work by breaking down proteins and waste so the smell doesn’t return.
- Good for: Urine odors, poop stains, vomit cleanup.
- Reality check: Enzymes need time to work. Follow the label and keep pets away until it’s dry.
If you want a training angle too, our related post on house training checklist covers how cleaning and routine work together so your pet stops repeating accidents.
DIY pet-safe cleaning recipes you can mix at home (simple, measurable, and rinse-friendly)
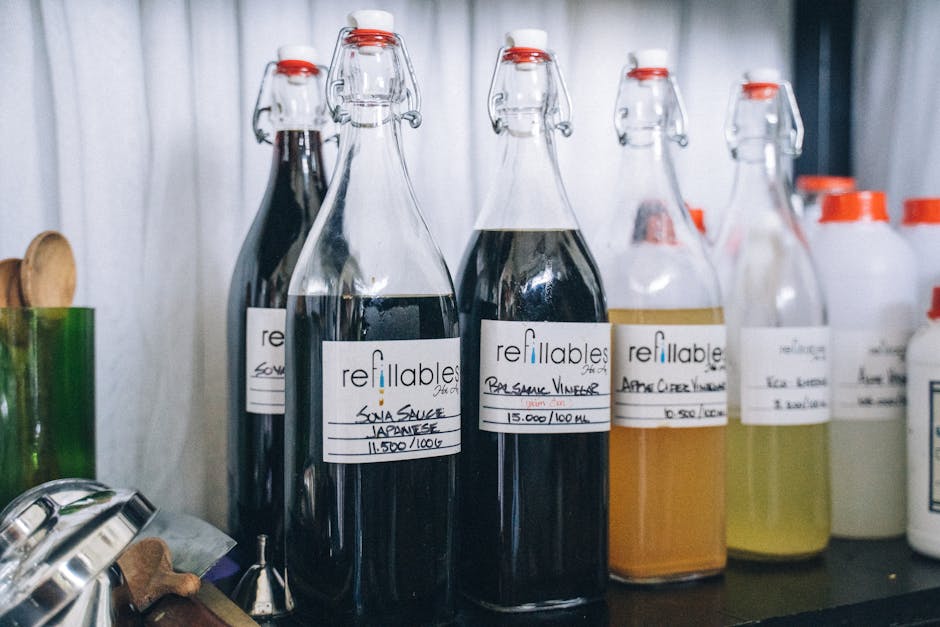
Here’s the part people love, but I’m going to be strict about safety: only use these recipes for the tasks listed, and always keep pets away until everything dries.
I also recommend labeling your spray bottles. In 2026, one of the most common home hazards is a cleaner being poured into the wrong container.
All-purpose DIY spray (vinegar + water for daily wipe-downs)
Best for: counters (non-food prep areas), sealed floors, bathroom surfaces, and walls that wipe clean.
- Mix 1 cup white vinegar with 1 cup water in a spray bottle.
- Shake gently.
- Spray lightly, wipe with a clean cloth, then let it air dry.
What most people get wrong: They soak the surface. That leaves more residue and keeps it wet longer, which is exactly when pets get curious.
Deodorizing carpet sprinkle (baking soda refresh)
Best for: living room carpets, rugs, and pet “air” smells.
- Sprinkle baking soda in a thin layer.
- Let it sit for 1–3 hours (overnight works for heavy odor, if your floors stay accessible).
- Vacuum well.
Pet-safety note: I keep my dog in another room while it sits. Baking soda dust can irritate sensitive noses.
Dish soap floor cleaner (castile soap for mopping)
Best for: washable hard floors like tile, sealed wood, and laminate.
- In a bucket, mix 1 tablespoon castile soap with 1 gallon warm water.
- Use a mop that you can wring very dry.
- Let the floor dry completely before pets walk on it.
Why this matters: Too much soap creates a sticky film. Pets walk through it, then lick paws, and you end up with more dirt clinging to the floor.
Bathroom scrubbing paste (baking soda + water)
Best for: bathtub stains, sink scum, and soap build-up.
- Mix baking soda and water into a thick paste (start with 3 tablespoons baking soda and add water one teaspoon at a time).
- Spread on the spot.
- Wait 10–20 minutes, then scrub and rinse.
This is one of the few DIY options where I actually like to do a rinse-only step afterward. It reduces residue and helps prevent skin irritation.
Spot cleaner for “mystery messes” (hydrogen peroxide, no mixing)
Best for: washable fabrics and some hard surfaces, only when you test first.
- Use 3% hydrogen peroxide straight (no vinegar, no bleach, no ammonia).
- Test in an unseen area.
- Apply lightly, wait 5–10 minutes, blot, and rinse if needed.
Limitations: Hydrogen peroxide can lighten some fabrics and discolor surfaces. If you’re cleaning colored items, patch test every time.
Food-safe bowls routine (soap + hot water, simple and effective)
This one is boring, but it works. For food and water bowls, I don’t try to disinfect with DIY sprays. I wash thoroughly instead.
- Wash with warm water and dish soap.
- Scrub ridges and seams (especially with stainless steel).
- Rinse well.
- Air dry.
If your pets have allergies, skipping heavy fragrances helps. Stick to plain soap.
What to avoid: common “pet-safe” myths and dangerous ingredients
Here’s the hard truth: some products people use every day are risky even if they smell “fresh.” I’ll list what to avoid and why.
Avoid mixing cleaners (especially vinegar + bleach or ammonia)
This is non-negotiable. Mixing cleaners can create toxic gases. Vinegar and bleach are a classic dangerous combo. Ammonia plus bleach is also deadly.
Plain language: When you mix certain chemicals, you don’t get “stronger.” You get a new chemical that can burn lungs and irritate eyes fast.
Skip essential oils in pet homes (even when diluted)
Many DIY recipes online suggest essential oils. I don’t recommend them for cats, and I’m cautious even with dogs.
- Cats are especially sensitive because they groom and breathe differently.
- Oils can leave residue that pets lick off paws and fur.
- Even “natural” oils can cause drooling, coughing, or skin irritation.
If you love scents, choose a fragrance-free cleaner instead. Your pets get peace, and you still get a clean home.
Avoid bleach for routine cleaning
Bleach is strong and can be useful in very specific, controlled situations. But as a daily or DIY pet-safe product, it’s not a great choice. It leaves strong residue if you don’t rinse well, and the fumes can linger.
If you do use disinfectants for a specific reason, follow label directions and keep pets out until surfaces are dry and aired out.
Keep ammonia out of the pet zone
Ammonia can irritate eyes and lungs. Many window cleaners use it. For pet homes, vinegar-water for glass is usually the safer path.
Avoid phenols and pine-based disinfectants
Some “natural disinfectants” are pine- or phenol-based. These can be unsafe for pets, especially cats. If a product doesn’t clearly list ingredients, don’t guess.
Don’t use concentrated DIY sprays on floors
Even “safe” ingredients can be unsafe when used too strong. I keep my vinegar sprays diluted for everyday floors and wipe to remove excess.
My rule: If it’s wet enough to pool, it’s not safe for pets to walk through yet.
How to clean the right way around pets (step-by-step routines that prevent licking and irritation)
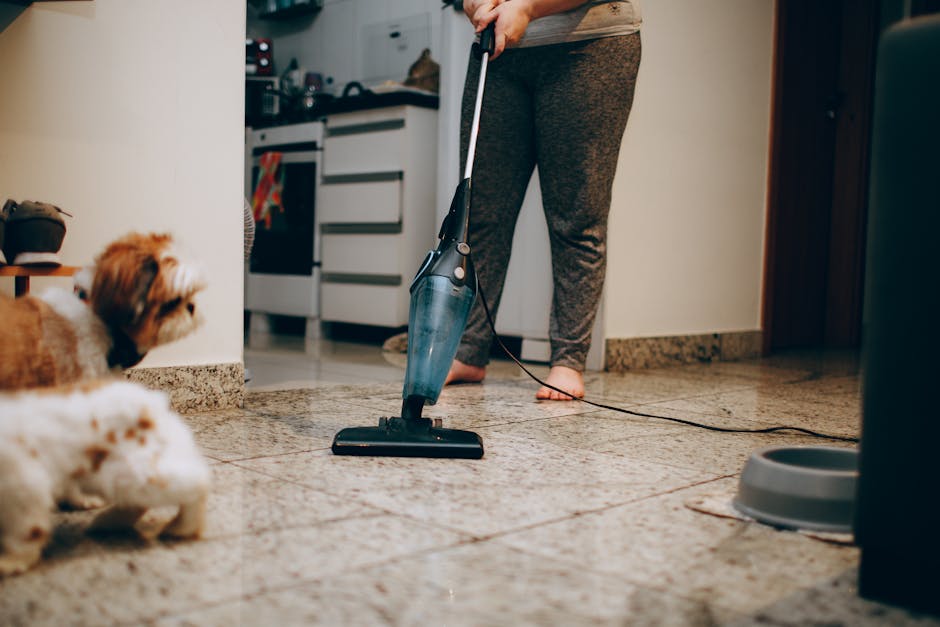
Pet-safe cleaning isn’t just choosing ingredients. It’s also timing. When you clean, you’re changing what your pet smells and tastes.
A simple 30-minute pet-safe cleaning plan
- Remove pets: Put them in a different room or use a safe crate area.
- Pre-clear clutter: Pick up toys, blankets, and bowls first so you don’t spray over them.
- Clean from top to bottom: Dust and wipe high surfaces first.
- Use light sprays: Spray on the cloth when possible, then wipe.
- Let dry: Set a timer. I aim for 20–30 minutes of dry time for most surfaces.
- Final rinse if needed: Food areas, bowls, and anything pets lick gets rinsed with clean water.
- Return pets: Only after surfaces are dry and the air smells normal again.
Paw-safety check: floors, rugs, and tracked-in dirt
Pets track dirt in from outside, and that dirt can mix with cleaner residue. If your pet keeps going back to the same area, do a plain-water mop again to remove leftover film.
I do this especially after using any vinegar or soap-based cleaner. It’s extra work, but it stops the “why does my dog keep licking the floor?” loop.
Cleaning for cats: slow, quiet, and low-scent
Cats are extra sensitive to strong smells and spray mists. I use minimal spraying and wipe with a damp cloth instead.
If you have a cat, keep the litter area separate during cleaning. Dust and cleaner residue can get on paws and then into litter.
For cat households learning routines, you may also like our post on scent marking solutions for stress and training.
People also ask: pet-safe cleaning questions (direct answers)
Is vinegar safe for pets?
Vinegar is generally safer than many harsh cleaners when used correctly, but it’s still something you don’t want pets to lick while wet. Use diluted vinegar for regular cleaning, keep pets away during the wet phase, and wipe or rinse if your pet has access to the area.
Can I use baking soda around dogs and cats?
Yes, baking soda is usually safe for surfaces when used normally. Avoid leaving piles of dry powder where pets can sniff and eat it. If you sprinkle it on carpets, vacuum fully before letting pets back in.
Are non-toxic cleaners really “non-toxic”?
No product is risk-free in every situation. “Non-toxic” usually means lower hazard when used as directed, not that it’s okay to ingest. Your safest strategy is to clean, rinse when needed, and keep pets out until everything is dry.
What should I do if my pet licks a cleaned surface?
First, remove access to more licking. Wipe the area if it’s still tacky or wet, then rinse with clean water if the surface allows.
Watch your pet for trouble signs like drooling, vomiting, coughing, or skin redness. If symptoms show up or you know you used a risky cleaner (bleach, ammonia, essential oils, strong disinfectants), call your vet or a pet poison hotline right away. Quick action matters.
How often should I clean pet areas?
Bedding and high-contact zones should be cleaned more often than the rest of the home. Aim for weekly washing of pet bedding (more often for heavy shedding or allergies). Wash food bowls daily, and do spot cleaning for accidents right away.
Real-life scenarios: what I’d do in common situations
I’m going to tell you a few real-world moments from my own home setup, because this stuff isn’t theoretical.
Scenario 1: Your dog steps in cleaner and then walks on rugs
I’ve seen this happen after someone “just mopped quickly.” The cleaner wasn’t fully dry, and residue tracked onto the rug. My fix: rinse the floor with plain water, then block off rugs until dry. After that, I switched to a lighter amount of soap cleaner and wring-drier mops.
Scenario 2: Cat gets on a freshly cleaned countertop
Cats love warm, clean spots. I stopped spraying countertops directly around my cat. Instead, I spray the cloth, wipe one section at a time, and wait until the surface is completely dry. If you use a DIY vinegar mix, wipe once with water after for extra safety.
Scenario 3: Accident odor returns even after “deep cleaning”
Odors return when the waste wasn’t fully broken down. In that case, a normal vinegar spray won’t fix it. I use an enzyme cleaner and follow the exact wait time. Then I blot, let it fully dry, and only then bring pets back in.
Scenario 4: You want to disinfect after illness
DIY recipes are great for routine cleaning, but illness situations sometimes require specific disinfectants. For 2026 best practice, follow label directions and choose products made for the pathogen risk. You can still keep things pet-friendly by removing pets early, ventilating, and rinsing where labels say to do so.
Quick comparison: DIY recipes vs store-bought pet-safe cleaners
Sometimes you want the control of DIY. Other times, you want the certainty of a tested product. Here’s how I think about it.
| Option | Best for | Pros | Cons / Watch-outs |
|---|---|---|---|
| DIY vinegar + water | Glass, water spots, quick wipe-downs | Cheap, easy, easy to rinse | Not for natural stone; don’t soak floors or leave wet |
| DIY baking soda paste | Soap scum, sinks, tubs | Low odor, gentle scrubbing power | Can scratch if used too aggressively |
| Enzyme cleaner (store-bought) | Urine/vomit smells | Breaks down odor-causing material | Needs the right dwell time; keep pets away until dry |
| Plant-based “pet-safe” sprays | Everyday surfaces | Often easier instructions and less guesswork | Still check ingredients; fragrance and oils vary by brand |
Conclusion: your safest pet-safe cleaning routine is simple—measure, rinse, and wait
If you take nothing else from this, take this: DIY pet-safe cleaning at home works best when you control three things—what you use, how much you use, and how long it stays wet. I’d rather wait 20 minutes for a surface to dry than gamble with my pet’s curiosity.
Start with vinegar-water for daily wipe-downs, baking soda paste for bathroom grime, castile soap for mopping, and enzyme cleaners for accidents. Avoid bleach, ammonia, essential oils, and any mixing of chemicals. When in doubt, rinse the surface and keep pets away until everything is dry and the air smells normal again.
Featured image alt text: DIY pet-safe cleaning at home with non-toxic recipes, vinegar spray, and baking soda paste