
Here’s a truth I learned the hard way: your pet’s “accidents” aren’t only about mess. They’re also about what gets trapped in flooring—fur, dander, moisture, and smells. When I switched homes in 2026, I chose flooring partly based on where my dog runs, where my cat naps, and how often I’m cleaning pawprints. The result? Some materials held up beautifully. Others looked fine at first and then started to smell or scratch fast.
If you’re asking home flooring and pet pawprints—which materials hold up best and why—the short answer is: choose surfaces that resist scratches, won’t swell with spills, and are easy to clean without soaking. In the sections below, I’ll give you the “real life” breakdown and a practical way to decide based on your pet and your lifestyle.
Quick answer: the best flooring for pet pawprints in real life
The best all-around flooring for pet pawprints is typically pet-friendly vinyl (LVP/LVT) or engineered wood with a tough finish. For many homes, the winning move is simple: waterproof or water-resistant surface on the top, plus a finish that handles claws and regular cleaning.
Carpet can work too, but only if you use the right type (and keep up with quick cleanups). Tile is great for durability, but it can be hard on joints and cold under paws. Laminate is popular, yet it’s the one I warn people about most when pets spill water.
What “holds up” actually means (scratches, stains, smells, and pawprints)
When people say a floor “holds up,” they usually mean four things. First is scratch resistance. Second is water resistance (because accidents and paw moisture happen). Third is stain and odor resistance. Fourth is cleanability—how easily you can remove fur and dried mess without damaging the surface.
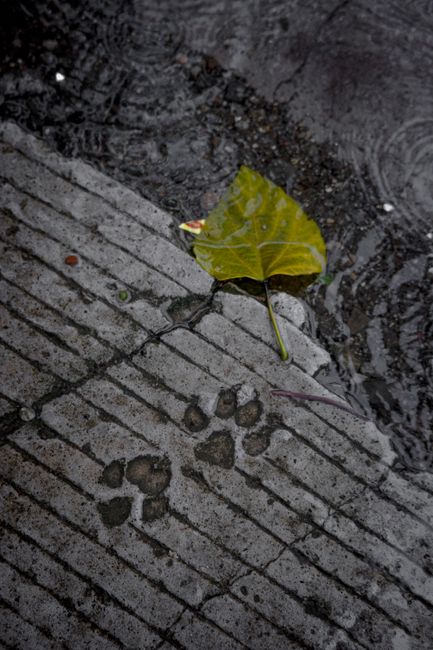
A pawprint is mostly about transfer. Oils from skin, moisture from paws, and grit from outside get ground into the surface over time. In 2026, I’ve noticed more pet parents are choosing flooring based on how it handles daily paw traffic, not just big messes.
Scratch resistance: why claws “win” over time
Scratches don’t always show up right away. They build with every zoomie, slip-and-slide moment, and nail tap on a hard edge. Real scratch risk is highest with:
- Long nails or nails not trimmed regularly
- Active dogs (running stairs, chasing toys)
- Cats that knead and climb scratchers placed near the floor
Even if your floor is scratch-resistant, nails still leave marks if your pet’s nails stay sharp. This is why I like pairing flooring choices with basic pet nail care. If you want training help too, check out our post on pet training tips for daily grooming routines (it’s easier than you think).
Water resistance: the silent problem behind “my floor smells now”
Water damage isn’t only about bubbles or warping. On some floors, liquid seeps into seams or the core. Then it sits under the surface. That’s where odors start.
Water resistance is a big deal for pet owners because paw moisture is constant. You’ll also have spills, drink knockovers, and the occasional “I thought I made it outside” moment.
Stain and odor resistance: the difference between “clean” and “really clean”
Many floors look clean right after a cleanup. But if the stain has soaked into texture or seams, it can smell later—even after you “did everything right.” Pet urine odor is usually hard because it can bind to certain materials or get trapped in layers.
That’s why the “best” choice depends on how you plan to clean. If you use an enzyme cleaner on time and blot instead of scrubbing, you can save a lot of flooring.
Best flooring types for pet pawprints (and who each one is for)
Below is the part most people want: a direct comparison. I’ll cover what’s best, what’s risky, and how to pick the right option for your home setup.
Pet-friendly vinyl (LVP/LVT): my top pick for most households
Vinyl flooring is usually the easiest win for pet pawprints because it’s tough on top and resists water better than many wood-look options.
Here’s what I like in 2026 choices: look for vinyl planks with a thicker wear layer and a solid locking system. Many modern products are also designed to handle mopping with the right cleaner.
Pros:
- Water-resistant surface (good for spills and “oops” moments)
- Handles paw traffic well
- Comfort underfoot compared to tile
- Usually easier DIY install than tile
Cons:
- Cheaper vinyl can dent from heavy claws or furniture
- Deep scratches can happen with rough nails
- Seams can be a weak spot if water gets under edges
My practical tip: Choose a wear layer rating you can find on the box or spec sheet. If it doesn’t clearly say, I walk away. In busy pet homes, you want a real wear layer, not “light duty” marketing.
Engineered wood with a tough finish: great look, strong performance
Engineered hardwood can work well for pet pawprints when you pick the right top layer and finish. Engineered wood is wood on the surface, with layers underneath that help it resist movement better than many solid woods.
Pros:
- Real wood look and feel
- Often handles daily foot traffic better than laminate
- Can be refinished later (depending on top layer thickness)
Cons:
- Not fully waterproof
- Repeated wet cleanups can still cause issues over time
- Scratches can show depending on finish hardness
What most people get wrong: They buy engineered wood and then steam mop it. Steam is a big no. Heat plus water can loosen finishes and push moisture into seams. For pets, stick to damp mopping with a cleaner meant for wood floors.
If you’re also thinking about training behaviors around messes, you may like our guide on potty training strategies that reduce repeat accidents.
Tile (porcelain or ceramic): hardest surface, not always the most pet-friendly feel
Tile is extremely durable. Claws won’t easily scratch glazed surfaces, and spills wipe up fast. It’s one of the best options if you have a large dog or frequent messy feeding.
Pros:
- Very scratch-resistant
- Resists stains well
- Easy cleanup
Cons:
- Cold and hard under paws (some pets hate it)
- Grout lines can stain if you use the wrong cleaner
- Dropped bowls can chip tile or crack if the subfloor isn’t right
My opinion from living with tile: If you choose tile, add comfort. Put rugs in “high love spots” like near the couch and feeding area. Use slip-resistant rugs so your pet doesn’t slide when fur gets on the surface.
Laminate: budget-friendly, but water is its enemy
Laminate can look great at a lower cost, which is why it’s popular with renters and first-time homeowners. The catch is the core. Most laminate isn’t waterproof.
Pros:
- Scratch-resistant top layer in many models
- Easy install
- Often cheaper than vinyl or engineered wood
Cons:
- Water can seep into edges and cause swelling
- Once it swells, repairs are tough
- Stains can linger in seams
Best for: Homes with low spill risk and pets that rarely have accidents indoors. If your pet is still learning routines, I’d choose vinyl instead.
Carpet and pet rugs: cozy, but you have to pick the right fiber
Carpet can be a great option if your pet is gentle and you clean fast. It’s also the best “sound reducer,” which matters if you live in an apartment or have a nervous dog.
Pros:
- Soft for joints
- Hides small scratches and nail marks
- Great for traction
Cons:
- Can hold smells if you don’t treat stains quickly
- Vacuuming needs to be consistent for fur buildup
- Some stains set fast in darker high-pile carpets
What I recommend (simple checklist): Choose a low-pile or tightly woven carpet, and ask about stain resistance that’s backed by the manufacturer. Then commit to quick blotting and enzyme cleaning when accidents happen.
Comparison table: which materials hold up best for pet pawprints?
This table is the quick reference I wish I had before my last move. Use it to narrow down your choices based on your biggest pet problem.
| Flooring type | Scratch resistance | Water resistance | Stain/odor risk | Comfort for pets | Best for |
|---|---|---|---|---|---|
| Vinyl (LVP/LVT) | High | High | Low to medium (depends on seams) | Medium (warm vs tile) | Most pet homes |
| Engineered wood | Medium to high | Medium | Medium (if wet often) | High | Pets with fewer accidents |
| Tile (porcelain/ceramic) | Very high | Very high | Low | Low to medium (cold) | Messy homes, heavy traffic |
| Laminate | Medium | Low to medium | Medium to high | Light spill risk homes | |
| Carpet | Low to medium | Low | High if cleanup is slow | Very high | Calm pets + fast cleaning |
How I choose flooring for my own pet pawprint zones
I don’t judge a floor by “whole house only.” I plan for zones. Pets don’t walk evenly through your space. They hit certain spots daily: entryways, feeding areas, and their favorite nap corner.
In my 2026 setup, I made three categories: high traffic + wet risk, high traffic only, and low traffic comfort. That’s how I avoided overspending on the whole house.
Zone 1: entryway and mud track (wet risk is real)
Entryways see wet paws, outdoor grit, and muddy paws right after walks. If your dog comes in dripping, your flooring must handle moisture quickly.
Pick: vinyl, tile, or sealed surfaces with good wipe-up performance. Add a mat that actually stays put (not the one that curls up at the edges).
Do this: Dry the area with a towel after storms or puddle-walk days. It sounds basic, but it prevents water from sitting in seams or textured surfaces.
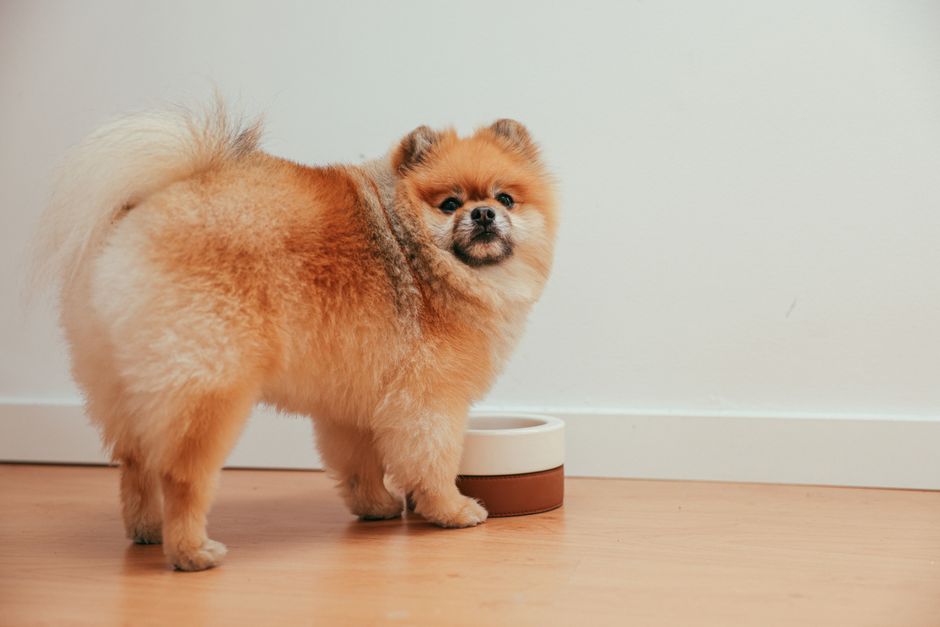
Zone 2: feeding and water bowls (accidents happen here)
Feeding zones are where you’ll deal with spills, slobber drips, and water bowl splashes. Even the most well-trained pet can knock a bowl.
Pick: vinyl or tile under the bowls, then a washable mat around the area. I like mats with a solid backing so pets don’t slide when they get excited about meal time.
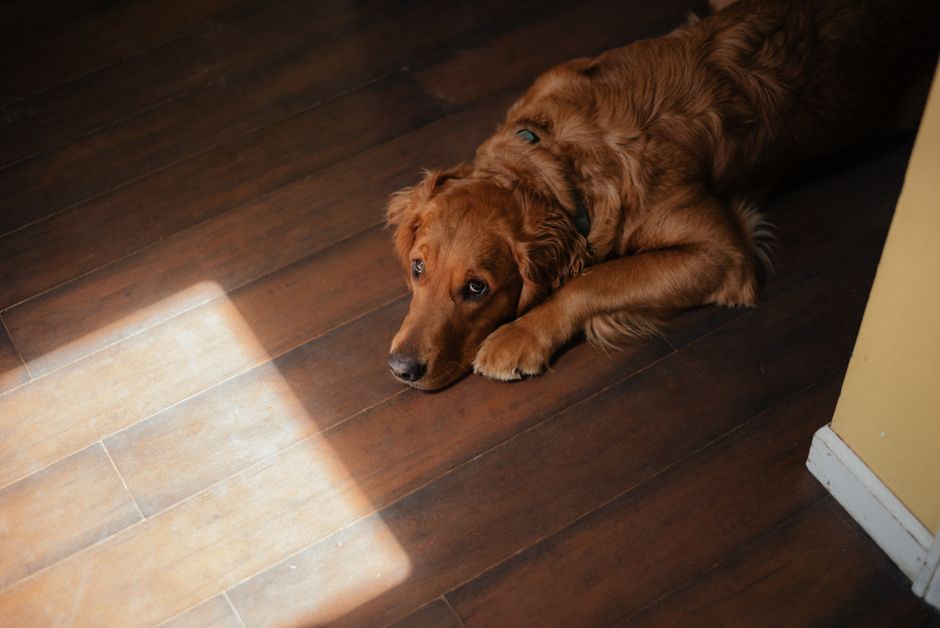
Zone 3: favorite nap spots (comfort matters more than you think)
Pets choose naps based on comfort and warmth. If they love the floor, you’ll feel it. Hard floors can make older pets avoid certain spots.
Pick: engineered wood or carpet in low-mess areas. If you do hard flooring everywhere, add pet beds in the spots they already choose.
People Also Ask: home flooring and pet pawprints
What flooring is best for dogs that scratch?
For dogs that scratch, I recommend vinyl with a thick wear layer or tile. Both resist claw marks much better than laminate and carpet. The real-world trick is also keeping nails trimmed so scratches don’t turn into gouges.
If you’re working on nail trimming and calm handling, pairing it with a training routine helps. Our pet training posts focus on keeping grooming stress low, which usually means fewer nail-related floor issues.
Is waterproof laminate safe for pet accidents?
Even “waterproof laminate” can be risky if water sits at seams or along edges. Waterproof claims often refer to the surface, not what happens after liquid gets underneath and pools. If your pet is still learning routines or you’ve had repeat accidents, choose vinyl or tile instead.
I also tell people to read the fine print: how long can it handle standing water? One manufacturer might say 24 hours; another might mean quick wipe only.
Can you steam clean floors with cats and dogs?
Steam cleaning can push heat and moisture into joints and seams. For most pet-focused flooring types, stick to the manufacturer’s cleaning instructions. In plain terms: if the brand says “no steam,” believe it.
If you want a pet-safe routine, start with a vacuum (especially if you have fur), then use a damp mop with a cleaner made for that material.
What’s the easiest flooring to remove pet odors from?
Hard, non-porous floors like tile and most vinyl surfaces are usually easier for odor control because stains don’t soak deep. You still need to use an enzyme cleaner designed for pet urine and blot thoroughly.
Here’s the step I stick to: remove solids, blot with paper towels until damp stops transferring, then use an enzyme cleaner and let it fully dry. Don’t rush it. Odor control isn’t instant.
Does carpet trap allergens from pets?
Carpet can trap fur, dander, and particles because they settle in the fibers. That’s not a death sentence, but it does mean more vacuuming and faster stain treatment. If someone in your home has allergies, low-pile carpet and a high-quality vacuum make a noticeable difference.
Step-by-step: keep any floor looking clean with pet pawprints
You don’t need fancy tools to protect flooring. You need consistent habits. Here’s the routine I follow in 2026 with my own pets.
- Remove grit first. Vacuum or sweep daily in entryways and high-traffic spots. Grit is basically sand, and sand scratches surfaces over time.
- Use the right mat. Put a washable mat at doors. Shake it outside and wash weekly.
- Blot spills fast. Don’t scrub at first. Blot with paper towels, then treat with an enzyme cleaner if it’s urine or vomit.
- Don’t over-wet. Mopping should be damp, not soaking. Standing water is what breaks the edges on many floors.
- Protect with pads in problem areas. Felt pads under chairs and table legs prevent scratches from moving furniture during cleanups.
- Trim nails on schedule. I tell people to check nails every 2–4 weeks. A quick trim can prevent big floor damage.
My “accident plan” for fastest odor control
If your pet has an accident, time matters. The longer urine sits, the more it soaks into layers and sets into smell.
- Step 1: Blot (don’t rub). Use paper towels or a clean cloth you can throw away.
- Step 2: Rinse lightly only if the manufacturer says it’s okay (some flooring needs specific treatment).
- Step 3: Apply an enzyme cleaner made for pet urine. Saturate the area as directed.
- Step 4: Let it air dry fully. If you cover it too soon, odors can come back.
If you want to reduce accidents through behavior, we also cover training basics in our pet training resources for cleanup prevention.
What most people get wrong when choosing flooring for pets
I’ve seen the same mistakes again and again. They look small in the showroom but matter a lot after months of pet living.
Mistake 1: choosing based only on scratch resistance
Scratch marks show up fast. But water issues and trapped odors can show up later. I always weigh water resistance and cleanability right after scratch risk.
Mistake 2: buying the cheapest version of a “pet-friendly” option
Vinyl, engineered wood, and even some laminate lines have budget versions. The difference is often the wear layer thickness, the core quality, or the edge sealing. In pet homes, you want the specs to back up the name.
Mistake 3: skipping area rugs in high-risk spots
Even the best flooring can get beat up in the exact same path your dog uses. Rugs are not “decor only.” They’re protection when placed in the right spot.
Mistake 4: ignoring the subfloor and installation quality
Installation matters more than people think. If the subfloor isn’t flat, clicking floors can shift and open seams. That’s where moisture gets in.
As of 2026 best practices, good installers also check moisture levels before install. That step can prevent “mystery” swelling later.
Budget-friendly upgrade paths (without ruining the look)
If you can’t replace flooring right now, you can still protect your home from pawprints and accidents.
Option A: protect what you already have
- Use a waterproof floor mat under bowls
- Add washable runner rugs in entryways
- Add felt pads and nail caps if needed
Option B: replace only key zones
You can upgrade entry + feeding areas first. In many homes, that’s enough to stop most of the wear and smell issues.
I’ve seen this work especially well when people later renovate bathrooms or living rooms. Start where pawprints and moisture hit the most.
Option C: pick one “best room” to go all-in
If your budget is tight, choose the room your pets use most. Many pet owners spend more time in the living room than in the hallway. Put your best flooring where the daily routine happens.
My final takeaway: choose the floor that matches your pet’s pattern
Home flooring and pet pawprints should be decided by how your pet lives, not by how a sample board looks. For most families in 2026, the safest choices are vinyl (LVP/LVT) for water resistance and easy cleaning, or tile when you want near-max durability. If you love the look of wood, engineered wood can be a great compromise—just don’t let water sit.
Here’s your actionable move tonight: list your pet’s top three floor “hot spots” (entryway, feeding area, favorite nap spot). Then match each spot with the flooring type that handles the biggest risk there—scratches, moisture, or comfort. That’s how you end up with floors that still look good months after the pawprints fade from day one.
Internal links: pet training tips for daily grooming routines | potty training strategies that reduce repeat accidents
Featured image alt text: Home flooring and pet pawprints on pet-friendly vinyl with a washable entry mat