

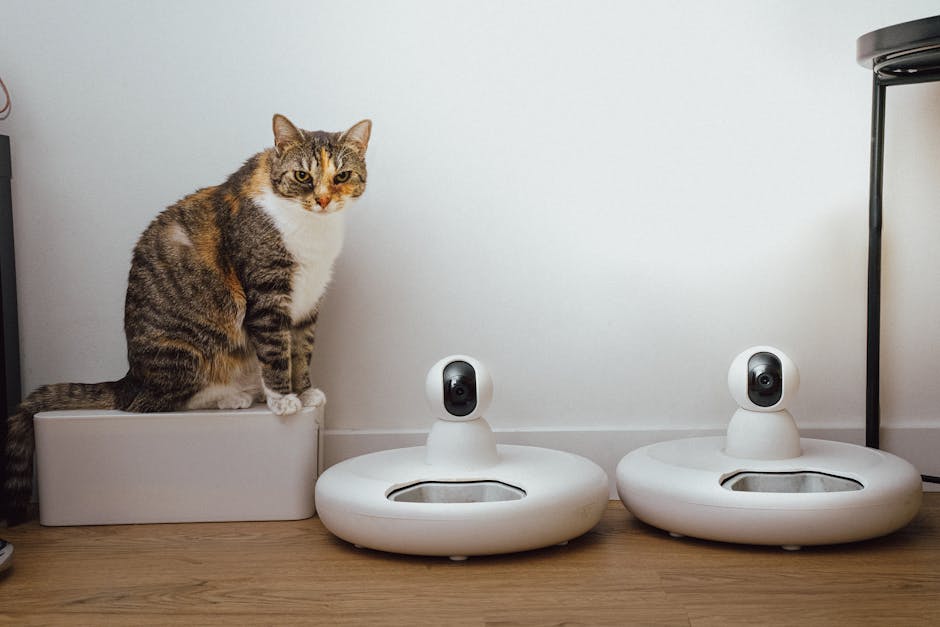
Here’s a situation I’ve seen more than once: you buy a “pet-safe” chew toy, feel confident, and then your dog still finds the one spot by the baseboard to destroy. That’s because pet-proofing isn’t just about blocking access. In 2026, the winning approach is layered: smarter deterrents, safer materials, and monitoring that tells you what’s actually going wrong.
The new Pet-Proofing Trends 2026 focus on real behavior (chewing, scratching, climbing, wandering) and real home risks (cords, gaps, toxic plants, slippery floors). I’ll walk you through what’s working now, what most people get wrong, and how to set up a plan you can maintain without living like a renovation crew.
New Pet-Proofing Trends 2026: what actually changes (and what doesn’t)
Key takeaway: The basics still matter, but 2026 adds “behavior-aware” tools and materials that reduce harm if your pet gets access.
Pet-proofing has always been about removing temptations and limiting access. What’s new this year is how homes respond when your pet tests the boundaries. Instead of only “keep out,” many products now do “notice, discourage, and record.”
For example, smart deterrents can react fast when your cat jumps onto a counter. Safer materials aim to lower risk if your pet chews a corner, swallows a small bit, or gets into a sticky trap zone (and yes, we’re moving away from many of the old “sticky” solutions).
To keep this practical, I’ll give you a step-by-step checklist you can use room by room. And I’ll include specific product types and setup ideas you can copy—even if you don’t want to buy every gadget.
Layer 1: smart deterrents that respond in real time
Key takeaway: The best deterrents don’t just scare—they guide behavior right when it starts.
In 2026, “smart deterrents” usually fall into three groups: sound-based (with limits), motion/approach-based (with patterns), and surface-based (like textures or scents). The goal is the same as good training: interrupt the bad choice without creating fear.
Motion + sound deterrents: when they work best for cats and dogs
Long-tail takeaway: For New Pet-Proofing Trends 2026, motion + sound works best when you combine it with a better choice (a perch, ramp, or chew alternative).
I like these tools when the behavior has a clear trigger, like a cat jumping to a specific window perch or a dog repeating the same mischief path every evening. Devices such as motion-activated alarms, ultrasonic deterrents, or camera-triggered alerts can help break the pattern quickly.
But here’s what most people get wrong: they place the deterrent without fixing the reason your pet goes there. If you block the counter but don’t provide a safe snack station or a high-value feeding routine, the behavior usually returns somewhere else.
Also, if you have a noise-sensitive pet, start with gentler methods first. Loud alarms can make some pets anxious, and anxious pets often chew more.
Surface deterrents: textured guards, safe sprays, and “make it boring”
Long-tail takeaway: In 2026 pet-proofing, surface deterrents are most effective when they’re safe, washable, and placed exactly where the paws and teeth land.
Textured mats and floor-safe strips can stop digging and scratching at problem areas. For cords, cord covers with a tough outer layer can turn a “snack cable” into something your pet won’t enjoy.
On the spray side, people keep asking me about “pet-safe” deterrent sprays. The truth is: some are safe for contact but still aren’t safe for chewing. I recommend using spray deterrents only as a short-term helper while you also fix the root cause—usually boredom, teething, or a lack of allowed chewing options.
If you’ve got puppies or teething kittens, pair deterrents with a “legal chew” schedule. I’ll cover that more under training.
Layer 2: safer materials for a home that can take a hit
Key takeaway: Safer materials mean fewer injuries and less damage when prevention isn’t perfect.
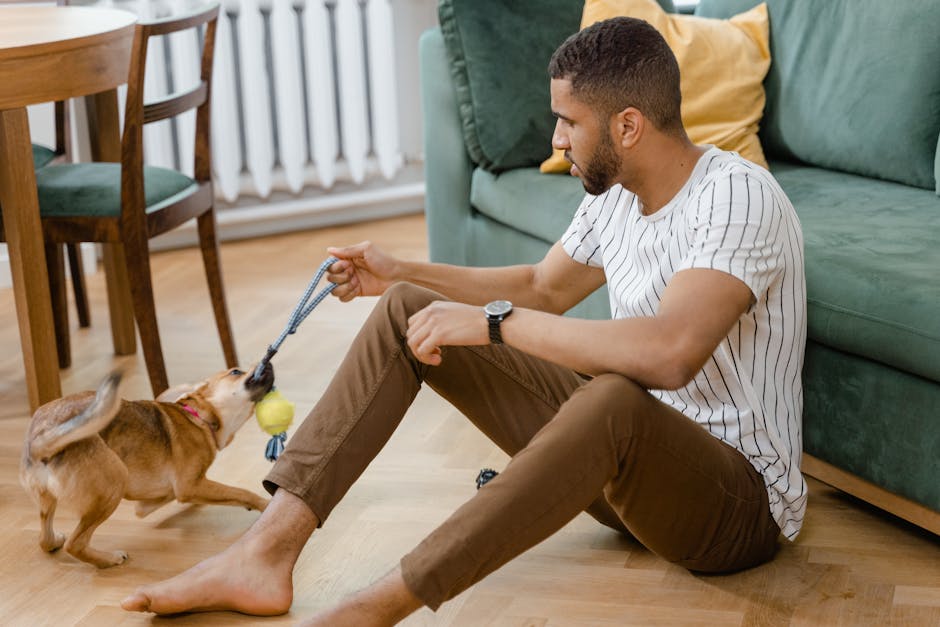
Let’s be real: you’re not going to catch every moment. Even with the best gate, toys can scatter, and a curious pet can find a weak spot. The new Pet-Proofing Trends 2026 push homeowners toward materials that reduce harm during mistakes.
Chew-resistant and bite-friendly upgrades (without turning your home into a lab)
Long-tail takeaway: Smart pet-proofing in 2026 includes chew-resistant covers for corners, guards for baseboards, and safer cord routing.
Think about where your pet can reach: edges, cords, chair legs, and under-table spaces. Common wins in my experience are:
- Corner guards that soften or block tooth access. Look for materials that are firm, not easy to crumble.
- Cord covers that snap over outlets and run along walls. Choose covers that don’t pop open easily.
- Baseboard protection with strips or covers that can be wiped and don’t splinter.
For many households, the most important “material upgrade” is cord management. Loose cords cause shocks and also teach pets that cords are chew toys. If you only do one upgrade, do cords.
As a quick measurement tip: before you buy covers, measure the cord length you need to protect and leave slack for moving furniture. I’ve seen people install a cover that fits perfectly… until you slide the couch and the cover pulls off.
Floors and soft surfaces: what to use if scratching is the problem
Long-tail takeaway: New Pet-Proofing Trends 2026 include floor and furniture choices that handle claws better and reduce slipping hazards.
Scratching is often about claw maintenance and scent marking. It’s not always “misbehavior.” So while you can protect the furniture, you should also give them an acceptable scratching surface.
If you’re trying to protect a rug, avoid thick tapes that leave residue or sticky edges that catch nails. Instead, use grippy rug pads designed for pets or reposition the rug to reduce access to the edges.
For laminate, wood, or tile, keep an eye on traction. I’ve watched pets slip right after a new cleaner, then panic, then run back to the only safe “scratch zone” by a door. Use pet-safe cleaners and dry floors well.
What I avoid in 2026 (and why)
Key takeaway: Some popular “pet-proofing” fixes are more harmful than helpful.
- Sticky traps and strong adhesives: They can trap fur, irritate skin, and create a mess if your pet gets into the wrong spot.
- Cheap outlet covers that pop off: If your pet can remove the cover, they’ll chew it.
- Over-scented deterrent blends: Some make homes smell bad for weeks. If the scent never fades, your pet’s behavior doesn’t improve—it just shifts.
I’m not saying every product in these categories is evil. I’m saying that in 2026, there are better options that reduce risk while still protecting your home.
Layer 3: smarter monitoring options (so you stop guessing)
Key takeaway: Monitoring turns pet-proofing from “hoping it works” into “tracking the exact trigger.”
Most people try to fix the obvious problems: the cord, the scratch mark, the eaten plant. But the real behavior often happens at the time of day you’re not looking. In 2026, monitoring tools help you catch patterns without constant stress.
What to monitor: time, location, and “lead-up” behaviors
Long-tail takeaway: For New Pet-Proofing Trends 2026, smart monitoring works best when you log the moment right before the mistake.
If you can, watch a problem area for 2–3 hours on a normal day. Then write down:
- Time: morning, evening, after meals, right after you leave
- Location: which corner, which doorway, which type of surface
- Lead-up behavior: pacing, sniffing, pawing at the same spot, staring at a gap
This matters because it tells you what the “reason” might be. For example, chewing right after you leave often points to stress or boredom. Chewing only when the dog walks past can point to attention-seeking.
Camera and motion alerts: practical setup tips
Key takeaway: Set up monitoring to reduce false alarms and save you time.
I’m a fan of cameras with person/pet detection because they cut down on “motion everything” alerts. But even the best cameras need smart placement. Aim them so they can see the problem surface and the pet’s approach path.
Here’s a setup tip that saved me: I used to mount the camera too high. It caught the pet in the room, but not the exact action. I lowered it slightly so I could see paws and teeth work. That made my fixes smarter fast.
If you don’t want cameras, you can still monitor with smart door sensors, pressure sensors on gates, or even a simple time-lapse video schedule. The goal is data, not surveillance.
When monitoring isn’t enough
Key takeaway: Monitoring can’t replace training when your pet already has a strong habit.
If your pet has practiced chewing for months, watching it won’t fix it by itself. You need prevention plus training plus enrichment. Think of monitoring as a map; training is the road.
Pet-proofing by room: a 2026 checklist you can use today
Key takeaway: The fastest results come from working room by room, starting with the biggest risks.
Use this list like a walk-through. I’ll keep it realistic so you don’t end up buying 20 things you don’t use.
Kitchen and dining areas (where “counter surfing” starts)
Long-tail takeaway: New Pet-Proofing Trends 2026 in the kitchen focus on counter access, food access, and safe alternatives for height-seekers.
Start with these:
- Remove bait: set a hard rule that counters are clean after meals.
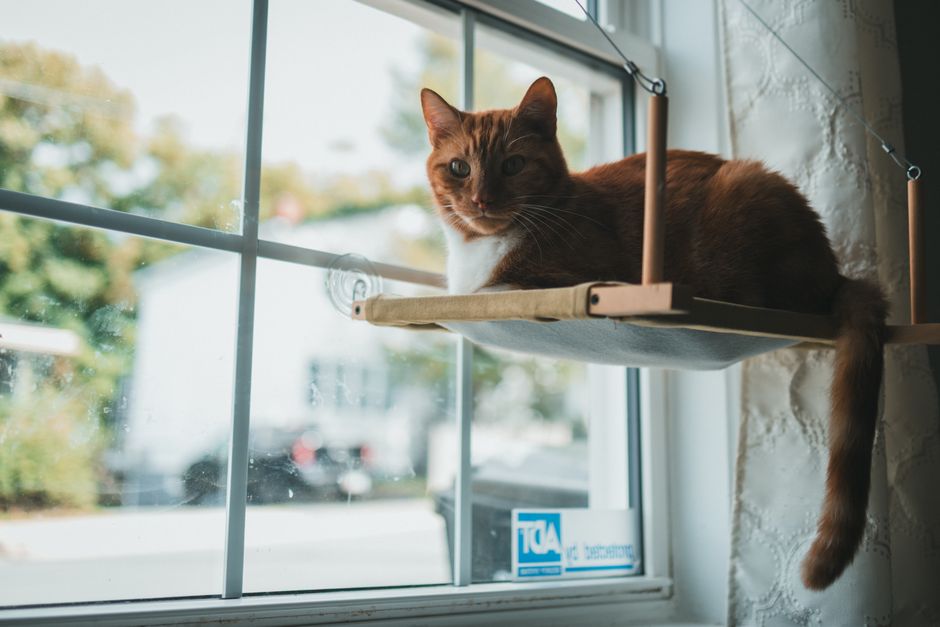
- Add a better “high spot”: a window perch or cat tower near (not on) the counter route.
- Use deterrents on the exact landing spot: movement-triggered tools or surface guards under the favorite jump point.
- Secure trash: use lidded bins with tight fits and keep recycling sealed.
What I tell friends: don’t rely on “I’ll watch while they’re in the room.” That turns your life into constant babysitting. Build the barrier so you can relax.
Living room (cords, furniture edges, and boredom)
Long-tail takeaway: In 2026, living room pet-proofing means covering cords, protecting edges, and planning enrichment that matches your pet’s energy level.
Do these in order:
- Route and cover cords behind furniture where possible.
- Block crawl paths under sofas and around entertainment centers.
- Protect baseboards with covers if your pet targets that height.
- Create a “legal chew zone” near where your pet usually searches.
If you have a dog that grabs remote controls, you’ll feel silly until you realize it’s just learning that remotes are fun and fall easily. Swap the “easy to get” items with durable, safe chew items and keep remotes out of reach.
Bedroom and home office (when separation anxiety shows up)
Long-tail takeaway: Monitoring + comfort planning is a key part of New Pet-Proofing Trends 2026 for pets that chew or scratch after you leave.
Look for signs like pacing, drooling, barking, or chewing within 10–30 minutes of your departure. Then make a plan:
- Use a crate or pen only if it’s trained correctly and sized properly.
- Offer a safe enrichment item (frozen lick mat, stuffed chew toy, or a slow feeder) before you go.
- Keep the room quiet—constant TV noise can worsen restlessness for some pets.
If your pet is stressed, more deterrents can backfire. In those cases, you’re better off combining softer barriers, routines, and training steps.
Bathroom and laundry (hidden hazards you don’t notice)
Long-tail takeaway: Pet-proofing 2026 in bathrooms means sealing chemicals and blocking access to wet floors and small openings.
Check:
- Locked cabinets for cleaners and medicines
- Bath mats that don’t slip
- Hose access if you have cats that love water
- Toilet bowl access if you’ve seen your pet drink from it
This is also where people underestimate “small gap” problems—cats can fit into surprising spaces, especially near vents and behind doors.
People also ask: pet-proofing questions I get a lot
Key takeaway: These answers are the ones people keep searching, and they’re also the ones that save time.
Is ultrasonic pest repellent safe for pets?
Key takeaway: Ultrasonic repellents are a mixed bag—safety depends on the device type, your pet, and how your pet reacts.
Many ultrasonic “repellent” gadgets are marketed for pests, but pets can hear a wider range of sounds than humans. Some dogs ignore them. Some freeze. Some get more anxious.
If you’re considering ultrasonic devices for deterrence, I recommend using them only as a short trial while you watch your pet’s behavior. If you see stress signals (hiding, heavy panting, trembling, refusal to settle), switch strategies and talk with your vet or a trainer.
Also, ultrasonic tools don’t solve the cause—like a trash problem or a food access gap. If the “why” isn’t fixed, your pet will try again later.
What are the safest materials for pet-proofing baseboards?
Key takeaway: Choose sturdy, wipeable covers that won’t splinter and don’t create sharp edges.
For baseboards, look for covers and guards that are made to take impacts and can be cleaned. Avoid flimsy foam that tears easily, and avoid materials that can flake.
My practical rule: if the piece breaks when you bend it gently, your pet will likely break it too. If you can’t wipe off scuffs easily, it will look bad fast and you’ll stop using it.
If you’re dealing with a chewer, pair material upgrades with a chew-training plan so your pet has a safe outlet.
Do pet deterrent sprays work long-term?
Key takeaway: Most deterrent sprays help short-term, but long-term success needs training and habit changes.
In my experience, deterrent sprays are like a “bridge.” They buy time while you install barriers and teach a new option. Pets often learn that the spray smell fades or the scent doesn’t stop them forever.
If you use a spray, reapply only as directed and keep a log. If your pet repeats the behavior even after a week, stop relying on the spray and focus on access control and training.
How can I stop my dog from chewing cords?
Key takeaway: Cord chewing ends when the cord stops being reachable and when your dog has a better chew routine.
Do this in a strict order:
- Cover and reroute: use cord covers and move cords behind furniture.
- Block access: close doors, use gates, and limit the room when you can’t supervise.
- Replace the behavior: give chew toys at the right times (after naps, before you leave, during calm bonding).
- Train “leave it” and reinforce fast.
If your dog chews cords often, it’s worth talking to your vet too—some dogs chew due to anxiety, teething, or stomach discomfort. Health and behavior are linked more than people think.
Training that matches the tech: deterrents + enrichment + pet training
Key takeaway: Smart deterrents work best when they’re paired with training that gives your pet a clear “do this instead.”
Here’s my honest opinion after helping friends fix stubborn repeat issues: most “pet-proofing fails” are actually training gaps. The pet didn’t get a fair new choice, so they kept testing.
Use short training sessions (2–5 minutes) instead of long lectures
Long-tail takeaway: In New Pet-Proofing Trends 2026, quick training bursts beat big attempts, because your pet learns the connection faster.
Try this approach for chewing or jumping:
- Pick one target behavior (like “leave the corner” or “jump to the perch”).
- Set up a prevention layer (barrier or deterrent) so your pet can’t succeed by accident.
- Reward the replacement behavior within 1–2 seconds.
- Repeat for a few minutes, then stop while your pet still wants to engage.
For more training ideas, you may like our post on busy dog calming routines (it pairs well with enrichment-based pet-proofing).
Enrichment that prevents damage: matching toy type to problem
Key takeaway: Don’t just add “more toys.” Add the right type at the right times.
Different behaviors need different outlets:
- Chewing: durable chew toys, safe freeze-safe treats, and short supervised chew time
- Scratching: cat scratch posts in the exact zones they like
- Digging: digging box or soil-free options (play sand tray with supervision)
- Counter surfing: feeding routines and a high-value “allowed” spot
When I set up enrichment, I schedule it around behavior risk. For example, if a cat goes for curtains after breakfast, I add a puzzle feeder before breakfast so they’re busy before the craving hits.
Common mistakes that undo good pet-proofing
Key takeaway: These mistakes keep coming up in 2026, and they slow progress.
- Reintroducing the hazard too soon after a deterrent works for one day.
- Using deterrents as a stand-alone fix instead of pairing with training and enrichment.
- Not cleaning the scent trail after a behavior. Pets often return to familiar scent spots.
- Skipping vet input when chewing suddenly starts or behavior changes fast.
If the behavior is new or sudden, check for health factors. Our why dogs chew and when to check with a vet guide is a solid companion read.
Costs and effort: what to expect when upgrading in 2026
Key takeaway: You can get real results without spending hundreds, but you should budget for the first layer.
Here’s a realistic range based on common household fixes (prices vary by brand and region). I’m giving ballparks so you can plan.
| Upgrade | Typical cost | Best for |
|---|---|---|
| Cord covers + outlet guards | $15–$60 | Chewers, puppies, teething |
| Baseboard/floor protection | $20–$120 | Skirting, scratching, edge chewing |
| Textured mats / scratch protection | $20–$80 | Cats targeting furniture edges |
| Motion deterrent or alarm device | $30–$200 | Counter surfing, repeated jump spots |
| Camera + pet alerts | $60–$250+ | Monitoring triggers and routines |
My rule of thumb: invest first in prevention where the pet can cause harm (cords, small gaps, cleaners). Then add deterrents. Then use monitoring to fine-tune.
If money is tight, start with one room and one risk. Most people try to fix everything at once and burn out.
A quick case example from 2026: how monitoring changed my approach
Key takeaway: Monitoring revealed the real trigger, and the fix became simple.
Last winter, a friend told me their dog kept chewing the same section of drywall near the hallway. They tried sprays and bought a cover panel. It worked for two days, then the chewing returned in the exact spot.
We set up a cheap camera for a few evenings. The footage showed the pattern clearly: the dog chewed right after the HVAC kicked on, then again when the front door opened for mail. Not random boredom. It was a “sound + change” routine.
The fix wasn’t just adding another deterrent. We used a calmer enrichment schedule around door time, added a safe chew option near the spot, and blocked the hallway access when the house was quiet. The chewing dropped within a week and stayed down.
That’s the big insight I keep seeing with New Pet-Proofing Trends 2026: the home isn’t just a stage. It’s a trigger machine. Monitoring helps you stop fighting the wrong enemy.
How to build your own New Pet-Proofing Trends 2026 plan (7 steps)
Key takeaway: Follow this order so you don’t waste time, money, or patience.
- Pick one problem behavior (cord chewing, counter surfing, scratching, digging).
- Find the exact location and measure reach (how high, how close, how often).
- Install prevention first (covers, barriers, locked cabinets).
- Add a deterrent on the trigger spot only after prevention is in place.
- Offer an approved replacement (chew toy, scratch post, puzzle feeder).
- Monitor for 3–7 days to confirm patterns and adjust.
- Train short sessions and reward the new behavior immediately.
If you do this, you’ll stop guessing and start building a system that fits your home and your pet.
Conclusion: the smart way to pet-proof in 2026 is layered, not perfect
Key takeaway: In New Pet-Proofing Trends 2026, you win by combining safer materials, smart deterrents, and monitoring that shows you what’s really happening.
You don’t need to turn your home into a fortress. You need a plan that makes the wrong choice hard, the right choice easy, and the mystery behavior visible. Start with cord and access control, add deterrents at the exact landing or chewing spot, and use monitoring for a short check-in period.
If you only remember one thing, make it this: prevention tells your pet “don’t,” but training tells your pet “do.” When those match, pet-proofing finally sticks.
Image SEO note: Featured image alt text suggestion—“New Pet-Proofing Trends 2026 smart deterrent device near a cord-protected outlet in a pet-friendly living room.”
Internal linking ideas recap: See also busy dog calming routines for enrichment timing, and why dogs chew and when to check with a vet when behavior changes suddenly.