

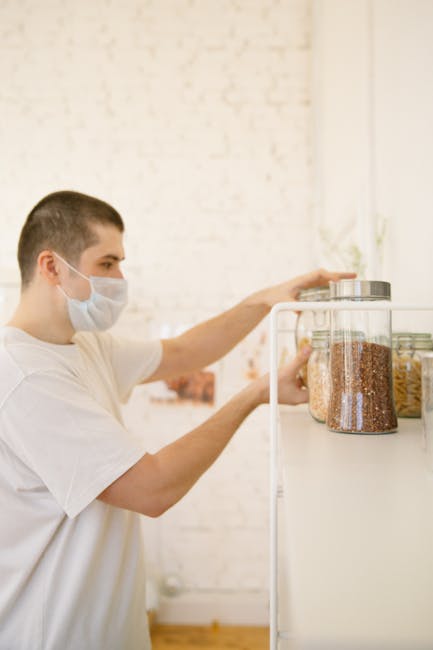
I learned this the messy way: the first time I stored a bag of dry dog food in a “nice enough” cabinet, I ended up with stale kibble, tiny bugs, and a trail of crumbs everywhere. It wasn’t a huge disaster, but it was gross and expensive—because I had to toss food I could’ve kept safe.
The good news is you don’t need an elaborate system. You just need the right pet food storage setup: the right container, the right location, and a simple routine for rotating and cleaning. If you choose well, you’ll reduce spoilage, keep pests out, and stop the dust and mess that build up over time.
What “good” pet food storage actually means (quick answer)
A good pet food storage setup keeps food fresh, keeps bugs and rodents out, and prevents spills and crumbs. In plain terms: it controls air, moisture, and smells—and it’s hard for pests to reach.
Dry food is tough, but it can still go stale when exposed to heat, humidity, or open-air oxygen. Wet food is more sensitive and needs strict fridge timing. Either way, your container and habits matter.
Step 1: Match your storage system to the type of pet food
Start by choosing a setup based on what you feed, not what looks nice in your kitchen. Dry kibble, semi-moist treats, and wet food all need different rules.
Dry kibble storage setup (air + moisture control)
Dry pet food is usually sold in bags that are meant for shipping, not long-term storage. Once opened, you’re dealing with oxygen and humidity. Heat speeds up staleness, and moisture can lead to mold.
In my home, the biggest improvement came when I stopped leaving kibble in the original bag. I now transfer it into a sealed container the day I open the bag. That one habit reduced the “bag smell” and made the cabinet way less dusty.
- Container goal: airtight seal + moisture resistance
- Best practice: store with a tight lid and a clean, dry scoop
- Extra help: keep the container away from the oven and dishwasher heat
Wet food storage setup (fridge-first planning)
Wet food is different because it’s already high-moisture. If you open a can or pouch and don’t seal it tight, you’ll get crusty edges and fridge odor. Also, pets can be picky, and stale smell can turn into refused meals.
My rule: open only what you’ll serve within a few hours. For leftovers, seal in a small container or use the original lid (if it seals well) and refrigerate right away.
- Container goal: leak-proof + easy to scoop
- Time rule: follow your brand’s label, and don’t keep opened wet food for days
- Mess control: use a small tray under the container so drips don’t hit shelves
Freeze-dried, treats, and “mix-ins”
Treats are often ignored, but they can spoil too. Many owners store them in open-ish bowls or drawers where humidity and sunlight reach them.
For treats like freeze-dried toppers, I use small airtight jars so each one stays fresh. If you buy treats in bulk, portion them right away so you’re not opening the whole bag every day.
Step 2: Choose the right container materials (and what to avoid)
The container is the heart of your pet food storage setup. You want something that seals well, is easy to clean, and won’t trap smells.
Best container types for dry pet food
Here are the container options I see work best in real homes. I’m using “real” here on purpose—because I’ve used several types and each one failed for a different reason at first.
| Container type | What it does well | Watch-outs |
|---|---|---|
| Airtight plastic bins | Lightweight, affordable, easy to pour | Cheap lids don’t seal well; inspect gaskets |
| Clear bins with snap lids | You can see levels and stay organized | Some “snap” lids loosen over time |
| Stainless steel canisters | Holds up long-term, resists odor | Can be pricey; make sure it’s truly airtight |
| Glass jars with airtight lids | Great for smaller treat portions | Not ideal for big bags; can be heavy |
What most people get wrong
It’s usually not the container size. It’s how people store the food inside the container.
- Leaving the food in the original bag: bags aren’t airtight. They’re fine for short periods, not months.
- Using a “food storage” bin that isn’t airtight: if the lid doesn’t seal, you’ll get staleness.
- Storing with moisture nearby: don’t keep pet food next to a leaky mop bucket, wet towels, or a humid area.
- Skipping cleaning: crumbs attract pests and can go rancid.
Step 3: Prevent pests with a setup that’s hard to beat
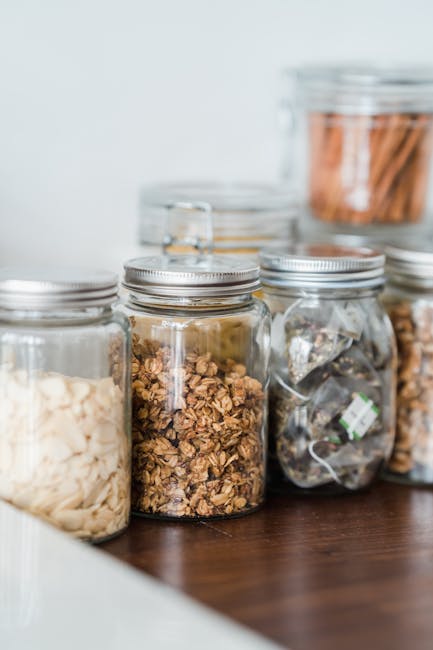
Pests don’t need a lot of access. A small gap under a lid or a bag left open for a week can be enough.
In 2026, the common pest problems I see in homes are pantry beetles, moths, and the occasional rodent. The fix is usually the same: stop easy access and remove food crumbs quickly.
Where you store pet food matters more than you think
Choose a spot that’s cool, dry, and away from heat sources. A basement laundry room can sound practical, but if it gets humid, food ages faster and pests are more likely.
I keep my pet food on a shelf inside a pantry cabinet, not under the sink. Under-sink areas tend to get damp, and if a pipe ever leaks, you’ll only notice after the food is affected.
Make spills “not a thing” with the right routine
Crumbs are like an invitation for insects. Here’s the routine I use so the mess never gets ahead of me.
- Use one scoop and keep it clean: wipe or rinse the scoop when it has dusty kibble stuck to it.
- Pour slowly: fast pouring creates airborne crumbs. Those little bits settle into corners.
- Wipe the inside rim after each refill: a quick paper towel swipe prevents stuck residue.
- Vacuum around the container monthly: I do this during my regular home “reset” day.
Do you need an anti-rodent setup?
If you live in an area where rodents are common, you can’t rely on “sealed lid” alone. You also need a location that’s protected and hard to access.
For example, a thick-walled storage cabinet with a tight door helps. Avoid leaving pet food in a garage where pests have more chances to get in. I also recommend putting a small barrier between the container and the floor so it’s not an easy path.
Step 4: Control spoilage with smart airflow, labeling, and rotation
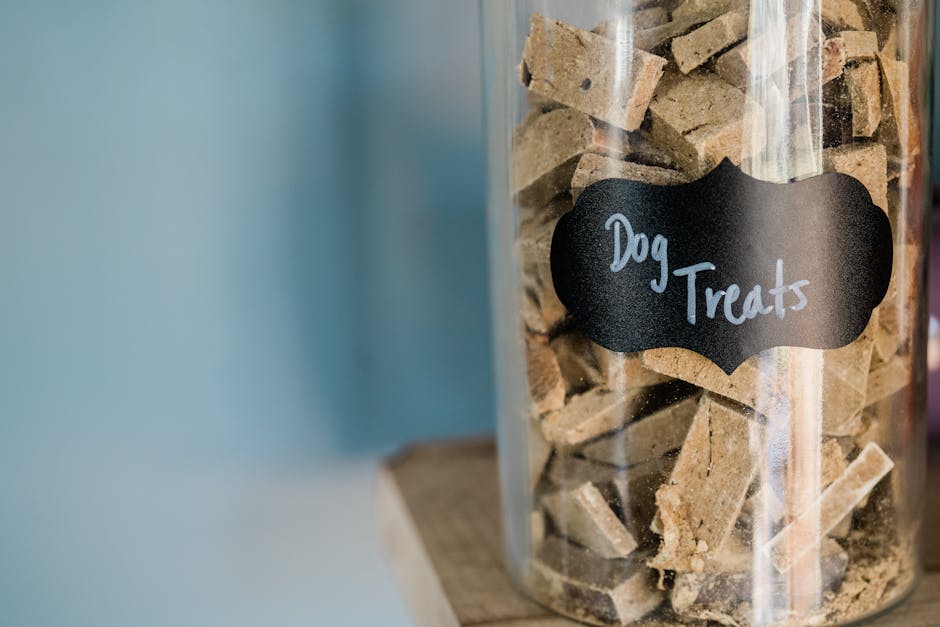
Spoliage usually doesn’t happen overnight. It builds from heat, oxygen, and stale smells that linger in the container.
Label everything the day you open a bag
Labeling sounds small, but it saves you money. I write the opening date on the container in permanent marker and include the food brand name so there’s no confusion later.
Then I rotate like I would with groceries. If I know a bag lasts about 6 weeks in our home, I set a calendar reminder 5 weeks after opening to check freshness and smell.
How long does pet food stay fresh?
The best answer is: follow your pet food brand’s “best by” date and storage instructions. Those labels are based on real testing.
As a practical home rule, once opened, dry food freshness depends on how tightly it’s sealed and how warm your home is. Warmer homes shorten freshness, and humidity speeds up the “stale” timeline.
- If it smells off: discard it.
- If you see clumps, moisture, or mold: discard it and clean the container fully.
- If kibble looks faded: check the seal and storage spot.
A simple “freshness check” you can do in 30 seconds
Before you pour the next scoop, do a quick look and smell test. It’s not dramatic, and it takes almost no time.
- Look for discoloration or powdery dust beyond normal.
- Smell for sour, musty, or “chemical” notes.
- Feel one piece between your fingers—stale kibble can feel softer or oddly dry.
If something seems off, don’t “push through.” Your pet’s gut health matters more than saving a few dollars.
Step 5: Prevent mess with the right layout, tools, and portioning
A pet food storage setup isn’t just about safety. It’s also about making daily feeding faster and cleaner.
Create a feeding zone
Pick a small area where all feeding tools live: container, scoop, paper towels, and any measuring cup you use. This stops you from carrying food across the kitchen and dropping crumbs on the way.
If you’re training, that matters even more. When routines are consistent, training is easier because your timing stays steady. You can pair this with our guide on pet training routines for busy days (if you’re building habits).
Portioning strategy: one container vs. multiple
Big bins work well when you have one pet and a simple feeding schedule. But with multiple pets, or if you don’t feed every day, multiple containers often reduce mess.
Here’s a strategy I’ve used: store the bulk in one airtight bin and pour a “weekly portion” into a smaller container near the feeding area. That way, you’re not opening the big bin every day and creating more crumbs.
- Single-bin setup: simpler, fewer containers to wash
- Two-stage setup (bulk + weekly): cleaner counters and easier rotation
Tools that actually help
- Designated scoop: keep it inside the container or clipped to the lid.
- Microfiber cloth: quick wipe of the lid rim and feeding area.
- Small trash bin: for crumpled bag corners so they don’t end up on the floor.
- Label maker or waterproof marker: your container will get cleaned, so labels need to last.
People Also Ask: Common questions about pet food storage
Should I store pet food in the freezer?
Freezing is not a default requirement for dry kibble. However, it can help in a specific situation: if you’re dealing with insect eggs or you live somewhere pests are common.
If you freeze dry food, let it come to room temperature before opening the container inside. This prevents condensation (small drops of moisture) from forming inside the food container. For wet food, freeze only if your brand allows it and you follow the thawing directions.
Is it safe to mix old kibble with new bags?
I don’t recommend mixing old and new for long periods. If you want to transition diets, do it on purpose and gradually, but don’t combine “mystery freshness” bags.
Also, if the old food smells wrong or has signs of moisture, discard it. Mixing stale or potentially contaminated food into new food doesn’t “dilute” the problem—it just spreads it.
What’s the best container size for pet food?
The best size is the one that matches how fast you use it. For most homes, a container that holds about 2–6 weeks of food is a sweet spot because it’s less time for air exposure.
If you have a large dog and go through food quickly, a bigger bin can make sense. If you have a small pet and only use a little, buying too large can mean the food sits longer than it should.
How do I clean pet food containers properly?
Cleaning is part of the storage setup, not an optional chore. Food residue becomes an attractant for pests and can leave lingering odors.
My basic method:
- Empty the container completely.
- Scrape out stuck crumbs.
- Wash with warm soapy water and rinse well.
- Dry fully before refilling (a wet bin is a mold invitation).
If you notice a strong odor even after washing, soak the container briefly with warm water and a small amount of dish soap, then rinse and dry again. Avoid harsh cleaners that leave a smell.
Comparison: pick the right setup for your home (simple examples)
Sometimes it’s easier to choose if you see setups in real life. Here are a few home scenarios and what I’d do in each one.
Small apartment + one dog
You usually have limited space, so an airtight medium bin plus a smaller weekly container works well. Store the bin in a pantry shelf, not on a windowsill or near the fridge motor.
This setup reduces odors because food stays sealed, and it keeps your feeding zone tidy.
Family home + two pets + different diets
You’ll want separate containers for each food type. Label clearly, and keep each scoop with its own food.
It’s easy to mix scoops during busy mornings. I’ve seen it happen, and it’s not worth the upset stomach risk for pets with sensitive diets. If you’re also working on routines, our post on daily pet care checklists can pair nicely with a clean feeding setup.
Hot climate + high humidity
Focus on sealed airtight storage and a cool, dry location. Avoid storing near vents, dishwashers, or laundry machines. If your home gets very humid, consider smaller containers so food doesn’t sit longer than needed.
Also, keep an eye on the container seals. In humid climates, cheap gaskets wear faster.
A practical checklist you can use today
If you want a straightforward path, use this checklist. I like it because it turns “good intentions” into an actual setup.
Pet food storage setup checklist (2026 best practice)
- Pick airtight containers for dry food (with a real seal, not just a lid).
- Store in a cool, dry cabinet away from heat and humidity.
- Transfer food at opening time and label the opening date.
- Use a designated scoop and keep it clean.
- Wipe the rim after each refill to stop crumbs from building.
- Check freshness with a 30-second look and smell test.
- Clean containers monthly (or sooner if you see residue).
- Set up a feeding zone so daily use stays tidy.
My bottom line: invest in sealing and routine, not just the container
The best pet food storage setup isn’t the fanciest bin. It’s the one you use correctly every time you pour a scoop. Airtight sealing, cool dry storage, clean rims, and date labels do the heavy lifting.
If you do just two things this week, do these: transfer dry food into a truly airtight container the day you open it, and wipe the rim/area so crumbs never pile up. That’s how you prevent spoilage, pests, and mess without turning feeding time into a chore.
Image SEO note: Use this featured image alt text: Pet food storage setup with airtight container to prevent spoilage, pests, and mess
Internal linking suggestions used above: pet training routines for busy days, and daily pet care checklists.