

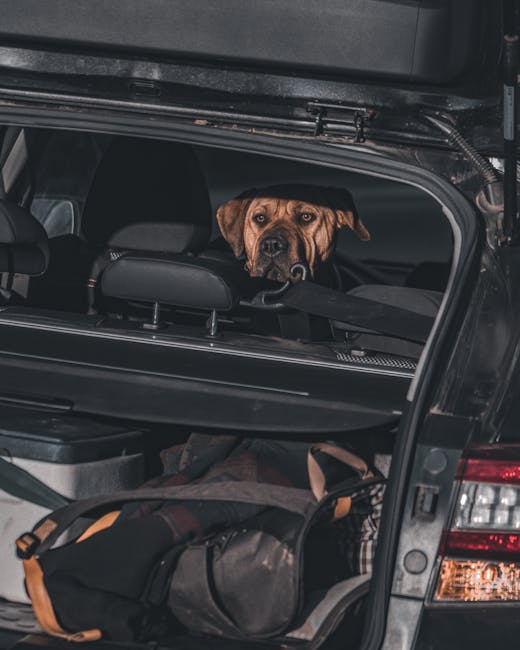
Here’s a truth that surprised me the first time I traveled with my dog: most pet “car emergencies” aren’t caused by crashes. They happen because a pet gets loose, panics, or overheats while the humans are busy dealing with traffic, dropped items, or a slow bathroom stop.
Pet travel safety at home and on the road means you plan for the small stuff before you leave the driveway. It’s car setup, smart break schedules, and a real emergency plan—not just a spare leash in the trunk.
I’ve learned a lot by trial and error (and one stressful highway stop that taught me what not to do). Below is a clear, hands-on guide for 2026 standards—whether you’re taking a short ride to the vet or driving across state lines.
Pet Travel Safety at Home: Set Up for Calm Before You Ever Leave
Pet travel safety at home starts with your pet’s daily routine. If your pet is already stressed at home, the car becomes one more scary change.
In plain terms, training is the emergency tool you’ll use every day. It can reduce barking, jumping, and “escape” behavior when the door opens.
Make a “travel zone” that feels normal
Pick one area in your home where your pet sees travel items. For me, it’s a corner near the entryway where the crate sits year-round. When your pet learns that crate/car items mean “routine,” the first car ride feels less like a sudden trap.
Put treats and a familiar blanket there. Practice sitting near the travel zone for 30 seconds, then 1 minute, then 3 minutes over a week.
Choose the right carrier or harness for your pet’s body
A travel carrier that’s too small is uncomfortable. A harness that fits wrong rubs and makes your pet pull harder.
As a rule, you want your pet to stand up, turn around, and lie down in a natural position. If your dog grows or your cat stretches differently, re-check fit before a trip.
Quick fit check: for harnesses, you should fit two fingers under straps at the chest. For carriers, check there’s space for the head to move without hitting the front.
Address the “what most people get wrong” list
- Leaving your pet without any routine the day of travel: you don’t have time to teach new rules at 7:00 a.m. on trip day.
- Using a collar for car rides: collars don’t keep a pet safe in sudden stops. Use a harness designed for transport or a secured crate.
- Forgetting comfort needs: heat, slippery floors, and loud noises matter as much as speed.
Car Setup for Pet Travel Safety at Home and On the Road: What Your Vehicle Needs
The safest car setup keeps your pet contained and protected in sudden braking and turns. That’s the whole goal.
When I’m setting up for a trip, I think in three parts: restraint, comfort, and visibility.
Restraint options: crate vs. harness vs. seat cover
Restraint is what stops your pet from turning into a projectile in a crash. Seat covers and blankets alone don’t count as restraint.
| Option | Best for | Pros | Watch-outs |
|---|---|---|---|
| Crash-tested harness | Small to medium dogs; many cats with training | Less space limits; easier for short stops | Must be attached to car seat belt or proper anchor |
| Secured crate | Cats, anxious dogs, pets that need space boundaries | Controls movement; easier to keep pets calm | Crate must be tied down to prevent sliding |
| Booster/transport seat with restraint | Lap-seeking small dogs who tolerate seating | Better height for viewing | Still needs proper attachment; avoid flimsy straps |
My honest take: I prefer crates for cats and anxious dogs. For dogs that do well with movement, a crash-tested harness beats a crate for comfort on longer drives—if the harness is truly secured to the vehicle.
Where to place your pet in the car
Most pets travel best in the back seat. Front seats add risk and distractions, especially in sudden braking.
- Dog in the back seat: use a harness attached to a seat belt anchor and keep them away from airbag areas.
- Cat in a crate: place the crate on the floor of the back seat and strap it down.
- Multi-pet households: separate pets so they aren’t climbing into each other’s space during turns.
Comfort and temperature control (this is where trips go wrong)
Overheating can happen fast. I’ve seen it happen on mild days when the sun hits the window and a pet can’t move away.
Use window shades for sun spots and avoid direct sun on the carrier. Crack windows slightly only if your pet can’t reach the opening and won’t escape.
Never leave your pet in a parked car in 2026 “because it’s not that hot.” Temperature climbs quickly, even when the air feels okay at first.
Break Schedules That Actually Work: Timing, Hydration, and Bathroom Stops
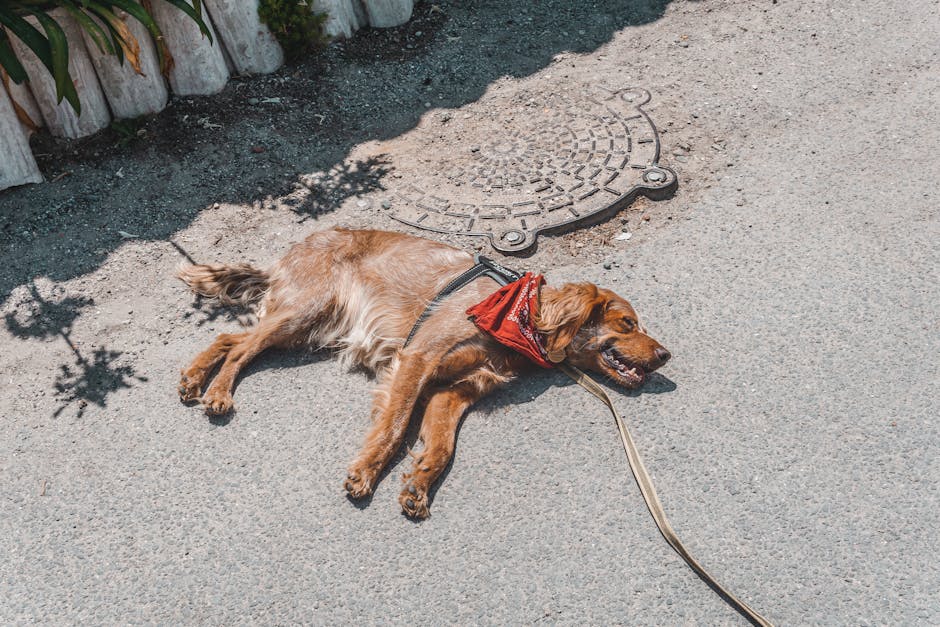
A good break schedule is pet travel safety at work. It helps with motion sickness, anxiety, and the bathroom problem that makes everyone miserable.
Instead of guessing, plan breaks like you plan snacks.
A simple timing rule for most road trips
For many dogs, a rest stop every 2 to 3 hours is a solid baseline. For puppies, senior dogs, or pets with anxiety, make the stops closer, like every 60 to 90 minutes.
If your pet has a sensitive stomach, shorten the gaps at first, because getting moving again after nausea is harder than taking the earlier stop.
Bathroom breaks: leash first, gate second
This is the moment most owners get sloppy. Your pet is excited, sniffing everything, and the leash is suddenly “optional.” It shouldn’t be.
- Stop the car.
- Clip leash to harness/collar before the door opens.
- Only then let your pet out.
- Do quick potty time, then back on leash.
Even friendly pets can run when they smell another animal. Keep it boring and controlled.
Hydration without stomach trouble
Bring water and a small bowl. Offer water during breaks, not right before the next long drive segment.
For motion sickness, avoid large meals right before leaving. Feed your pet a light meal several hours before departure, then do normal timing on the road.
Stop choices matter: choose calm, not just convenient
I used to pick the closest exit every time. Now I look for places with less chaos—quiet parking lots, shaded areas, and rest stops away from the loudest crowds.
Less noise means less panting and pacing. And if you’re traveling with a cat, a quieter spot makes it easier to keep your cat from bolting.
Emergency Preparedness Plan: What to Pack and What to Do First
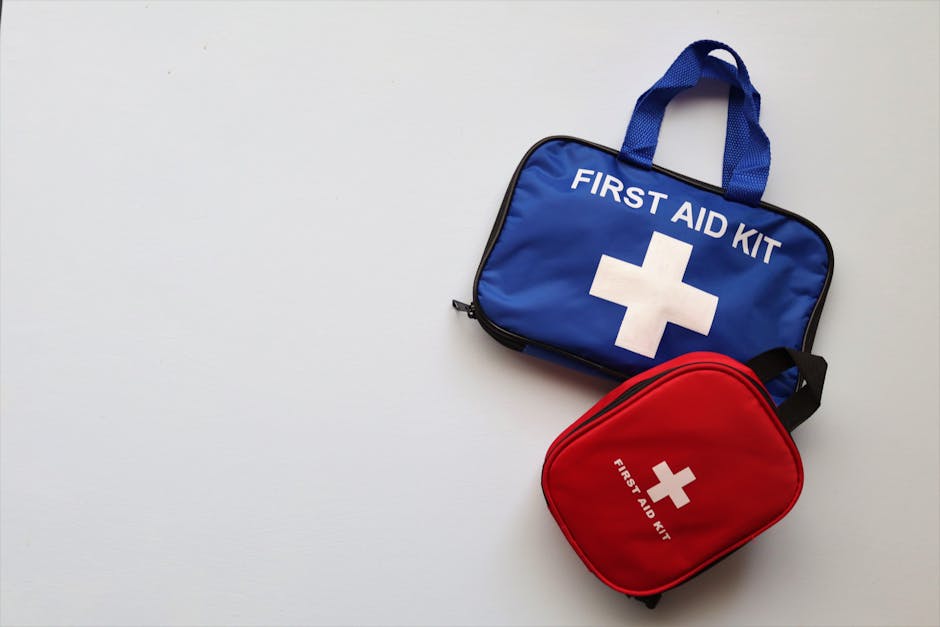
Emergency preparedness is the part of pet travel safety at home and on the road that you hope you never need. The catch is that you only get one chance to act fast.
My rule: if something bad happened in the next 10 minutes, could you help?
Build a pet travel emergency kit (use a checklist)
Here’s a kit that fits in a small tote or backpack. I keep mine in the same spot by the door so it’s always grab-and-go.
- Med info: copies of vaccination records, current medications list, and your vet’s phone number
- First aid basics: pet-safe antiseptic wipes, gauze pads, vet wrap, tweezers for splinters (if your pet is safe to handle)
- Bandage and restraint: non-stick gauze and a light bandage material (only if you’ve used it before)
- Muzzle (for emergencies): only if recommended by your trainer/vet; practice at home so it’s not scary
- Extra leash/harness: including a backup harness that you know fits
- Waste and cleanup: poop bags, paper towels, and a small plastic bag for trash
- Food and water: at least a 24-hour supply plus a collapsible bowl
- Comfort item: familiar blanket or toy
- Thermometer: optional but useful for fever concerns
Time saver: pack the kit with a label on top: “If the car breaks, grab this.” It sounds simple, but it stops panic searching.
Know your emergency priorities in the right order
When something goes wrong, you need a step-by-step focus. Here’s the order I follow:
- Safety first: get yourself away from traffic if you can.
- Assess basic breathing and alertness: is your pet breathing normally? Is the pet awake and responsive?
- Check for immediate dangers: overheating, bleeding, choking hazards.
- Call for help early: contact a vet clinic or emergency hospital with your location.
- Only then give first aid: stop bleeding if it’s heavy, rinse with clean water if there’s a wound, but don’t guess on medications.
Create a “call script” before you leave
This helped me after a travel incident: I wrote a short script on my phone notes.
It includes: pet species, age, weight estimate, symptoms, when it started, what the temperature feels like outside, and any meds taken. Calling is faster when you aren’t trying to remember details under stress.
Where to get help: save numbers the night before
In 2026, most people rely on apps. That’s fine, but I still save numbers in advance so your phone doesn’t have to work perfectly.
Save these before you drive:
- your regular vet
- an emergency vet near your route
- a nearby vet in your destination area
People Also Ask: Common Pet Travel Safety Questions
How often should I stop for my dog on a road trip?
For many adult dogs, stop every 2 to 3 hours for water and bathroom time. If your dog is young, elderly, or anxious, aim for every 60 to 90 minutes during the first day until you learn what your pet needs.
Use your pet’s body language as the guide. If they’re drooling heavily, shaking, or acting restless, take a break sooner.
Can I let my cat ride free in the car?
No—free-roaming cats are a safety risk for you and the cat. A crate that’s secured to the car is the best option, because it limits sudden movement and reduces the chance of escape.
If your cat hates the carrier, start short practice sessions at home and gradually increase time over 1 to 3 weeks.
What’s the safest way to secure a dog in the car?
The safest way is a crash-tested harness attached to the vehicle’s seat belt anchor or a secured crash-tested crate tied down. Seat belts, booster straps, and “pretty good” setups aren’t enough—what matters is that the restraint is designed for vehicle safety.
If you’re unsure, check the harness packaging and follow the instructions exactly.
How do I prevent pet overheating in the car?
Prevent overheating by managing shade, airflow, and time. Use sun shades, avoid direct window heat on the carrier, and never leave your pet in a parked car, even for “just a few minutes.”
If your pet seems too hot—heavy panting, drooling, or acting weak—get to shade and call a vet.
Real-Life Scenarios: Learn From Mistakes (So You Don’t Make Them)
Here are three situations that show why pet travel safety at home and on the road is about details.
Scenario 1: The “quick stop” that became a panic
We pulled into a gas station for one thing. The door opened, our dog slipped the moment we weren’t holding the leash tightly, and he ran to sniff a trash can.
Since then, I keep the leash clipped to the harness as soon as we stop. Door opens only after leash control.
Scenario 2: Breaks too late = motion sickness
One trip, we waited until the pet started whining before we stopped. By then, nausea was already brewing, and the next 20 minutes felt awful for everyone.
Now I use smaller breaks earlier. With my dog, the difference is huge—less whining and faster recovery after stops.
Scenario 3: Wrong fit = rubbing and stress
I once used a harness that looked fine at home. On the road, it rubbed because my dog shifted while turning. The trip became restless, and the “safe ride” turned into a constant fidget.
I now check harness fit before every trip, especially after shedding, weight changes, or coat changes in 2026.
Links to Related Pet Care Tips (From Our Site)
If you want to build a full routine, these posts pair well with this guide:
- How to Spot and Handle Motion Sickness in Pets
- Leash and Doorway Exercises for Pet Safety
- Tips for Making Your Home a Safe Comfort Zone
Pack, Plan, Practice: Your 10-Minute Trip Prep Routine
You don’t need a whole day to get ready. You need a repeatable routine you can do fast.
Here’s a quick checklist I follow for pet travel safety at home and on the road:
- Check restraint: harness/collision crate straps secure? Nothing loose?
- Fill water: bottle + small bowl.
- Grab supplies: waste bags, a towel, and the emergency kit tote.
- Plan your first break: decide when the first stop happens.
- Final potty: leash on, potty time, then back in.
- Temperature check: shade setup ready? Sun spots avoided?
- Phone notes: vet number + emergency numbers saved.
Conclusion: Make Safety a Habit, Not a Last-Minute Fix
Pet travel safety at home and on the road comes down to three things: safe containment, smart break timing, and emergency readiness.
If you do just one upgrade this trip, make it the one that reduces chaos the fastest: leash control at stops, a real restraint system in the car, and an emergency kit you can grab without thinking.
Do that, and you’ll feel the difference the moment you pull away from your driveway.
Featured image alt text: Pet travel safety at home and on the road setup with crash-tested harness and secured crate in a car.