

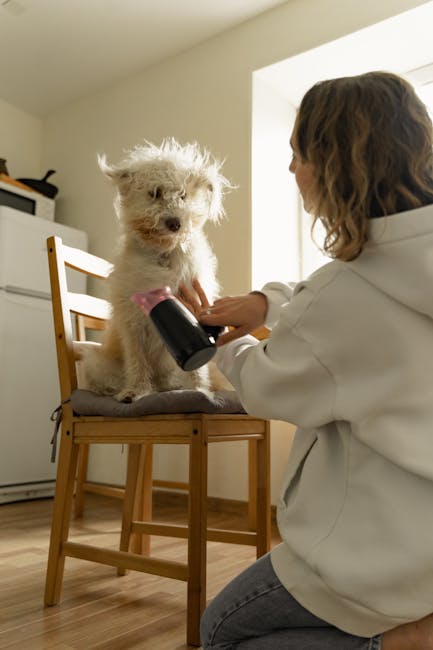
If your dog or cat has ever looked at you like, “Are we done yet?” right in the middle of bath time, you already know grooming isn’t just about looks. The real question is what gives better results with less stress for your pet and less stress for your wallet. That’s where DIY vs. store-bought pet grooming matters.
Here’s the short answer: DIY grooming usually costs less and lets you control comfort, but store-bought grooming (professional grooming or ready-made tools/services) often gives more consistent results faster. In the best setups, people mix both.
Below, I’ll compare cost, comfort, and results in a way that’s actually useful in 2026—plus a step-by-step DIY plan and a “when to stop DIY” checklist.
Quick comparison: DIY vs. store-bought pet grooming
The biggest differences show up in three places: cost up front, how calm your pet feels, and how even the final coat looks.
| Factor | DIY grooming | Store-bought option |
|---|---|---|
| Cost | $40–$200 to start (tools), then $5–$25 per session | Usually $45–$150+ per visit (or pay for pro tools/services) |
| Comfort | Best if you go slow and use the right pressure | Often calm with the right groomer, but your pet may still be stressed by the setting |
| Results | Good for bathing, nail trims, brushing; haircuts take practice | More consistent haircuts and cleanup (especially for mats) |
| Time | 45–120 minutes depending on coat and experience | Usually 1–3 hours at a shop (you’re not the one doing the work) |
My take after helping friends through “we tried it at home” grooming nights: DIY shines for routine care. Store-bought grooming shines when you need skill with blades, thinning shears, or you’re dealing with heavy matting.
Cost breakdown: what DIY vs. store-bought pet grooming really costs
People often compare “one bath” prices, but the real cost is what you buy and how often it works.
DIY grooming costs (2026): tools + supplies
DIY grooming is usually cheaper if you groom regularly and you already have a bathtub or shower setup. Here’s a real-life style estimate for a typical small to medium dog (similar costs apply to many cats, but cats often need a more careful plan):
- Clippers or cordless trimmer: $60–$200 (quality matters for less tugging)
- Brushes/comb setup: $15–$50 (slicker brush + metal comb is a solid start)
- Shampoo + conditioner: $12–$25 per bottle; plan on 1 bottle lasting a few months
- Nail grinder or clippers: $20–$70 (grinders reduce the “quick” risk if you learn the pace)
- Towels + drying items: $10–$40 if you don’t already have them
If you spread the starter cost across 10–20 grooming sessions, your cost per session can land around $5–$25. The more your pet fights you, the more time and mistakes cost you. If you cut nails too fast or rush brushing, you may end up paying for a pro cleanup later.
Store-bought grooming costs: visits and add-ons
Store-bought grooming can mean a professional grooming appointment, or it can mean buying pre-made grooming kits and services through a retailer. In real life, most people mean a groomer visit.
As of 2026, many shops charge roughly:
- Bath + brush: $45–$80
- Full groom (bath, haircut, nails, ear cleaning): $75–$150+
- De-matting or heavy mat removal: can add $30–$200 depending on severity
- Long-haired coat maintenance: sometimes costs more because it takes more time
One thing people don’t plan for: if your pet arrives with mats, the groomer may need extra time or may refuse the service. That’s not the groomer being mean. It’s safety—matting can pull the skin and trap moisture.
Comfort comparison: which option is gentler for your pet?
Comfort isn’t just about the bath. It’s about how your pet feels at each step: handling, sound, water, and the time it takes.
How DIY comfort actually works (when it goes right)
DIY grooming can be way more comfortable because your pet is in a familiar place. I’ve seen it go from “panic” to “tolerant” just by changing two things: the order of steps and the session length.
Here’s a comfort-first order I use with nervous dogs:
- Dry brushing first (short session, stop before they melt down)
- Reward + pause for 2–3 minutes
- Quick rinse (not full bath at first)
- Soap gently from neck down
- Rinse well (leftover shampoo can itch)
- Drying slowly with towels first, then low heat if needed
As a rule, I keep first sessions short. Think 10–20 minutes total. You’re training comfort, not finishing a magazine haircut.
Store-bought grooming comfort: the good and the tricky parts
Pro groomers are trained to handle different coats. Many shops also use quiet areas, non-slip tables, and tools that reduce pulling.
But your pet may still feel stressed because:
- They’re in a new place with new smells.
- The loudest part might be the dryer or clippers.
- They may not know the person.
Best move for store-bought grooming: book a “trial” groom or ask for the same routine each time. Consistency helps.
What most people get wrong about comfort
This is the big one. People try to groom through fear. If your pet is shaking hard, yelping, or trying to hide, you’re forcing the lesson the wrong way.
Also, don’t blow hot air too close to skin. Skin burns happen fast, especially on thin-furred areas like the belly and inner legs.
Results comparison: coat, nails, ears, and haircuts
DIY results are great when your goal matches your skill level. Store-bought results are best when you need precise trimming or mat removal.
DIY results you can nail (pun intended)
DIY is usually strongest for:
- Brushing for coat health and shedding control
- Bathing with proper shampoo and rinse
- Nail trimming if you use the right tools and don’t rush
- Ear checks (not deep cleaning unless a vet told you to)
If you keep nails trimmed, pets walk more comfortably and floors stay safer.
DIY results that often disappoint (and why)
Most “DIY gone wrong” stories come from haircuts with clippers. Uneven blends, clipper rash, and accidentally cutting too short are common.
Another common problem is skipping the comb check. A brush can remove loose fur, but mats hide under the top coat. A metal comb helps you find them.
Clipping and haircut reality check
Here’s my opinion after watching plenty of home attempts: DIY haircuts are fine if your pet tolerates clippers, you practice on a calm day, and you accept “good enough” instead of show-dog perfection.
For example, a simple trim on the belly and feet can be manageable. A full body shave for a double-coated dog usually isn’t my first choice, unless your vet or groomer recommends it for a specific reason.
Step-by-step DIY pet grooming plan (easy, safe, and repeatable)
This plan focuses on comfort and repeatable results. If you stick to it, you’ll groom more often without making it a battle.
Step 1: Prep your space
Set up before you bring your pet in. I line up:
- Brush and metal comb
- Shampoo made for pets (not human shampoo)
- Towels
- Nail grinder or clippers + styptic powder (in case you nick)
- Quiet treats
Use a non-slip mat. It’s not “extra.” It’s safety and confidence.
Step 2: Brush like you’re checking for problems
Brushing is not only for removing hair. It’s how you catch mats early, when they’re easy to remove.
Work in small sections. After brushing, run a metal comb down through the coat. If the comb glides, you’re good. If it catches, stop and address that spot.
Important: Never yank out mats with scissors or pull them hard. Skin can tear under tension. If mats are deep, a groomer or vet can remove them safely.
Step 3: Bath the right way (fast, not aggressive)
Make water warm, not hot. Wet the body first, then apply shampoo. Focus on areas that get oily: neck, armpits, belly, and tail base.
Rinse longer than you think you need. A soap smell that stays means residue. Residue often leads to itching.
Step 4: Drying without drama
Blot with towels first. If you use a dryer, keep it on low and at a distance. Move the dryer around so heat doesn’t sit in one spot.
If your pet hates the dryer, towel drying plus air drying is okay. The goal is dry enough to prevent skin irritation.
Step 5: Nails in small steps
If you’re new to DIY nail trimming, do it in short sessions. You don’t need to cut every nail today.
Try this approach:
- Touch the paw and reward.
- Trim one nail.
- Reward and stop.
- Repeat another day.
Even small progress reduces the “quick panic” later.
Step 6: Quick ear check (not deep cleaning)
Look for redness, bad smell, or lots of dark wax. If you see these, don’t guess. Ask your vet. Gentle wiping at home is okay when your vet says it’s fine, but deep ear cleaning can cause problems if done wrong.
Store-bought grooming options: what to choose and what to ask for
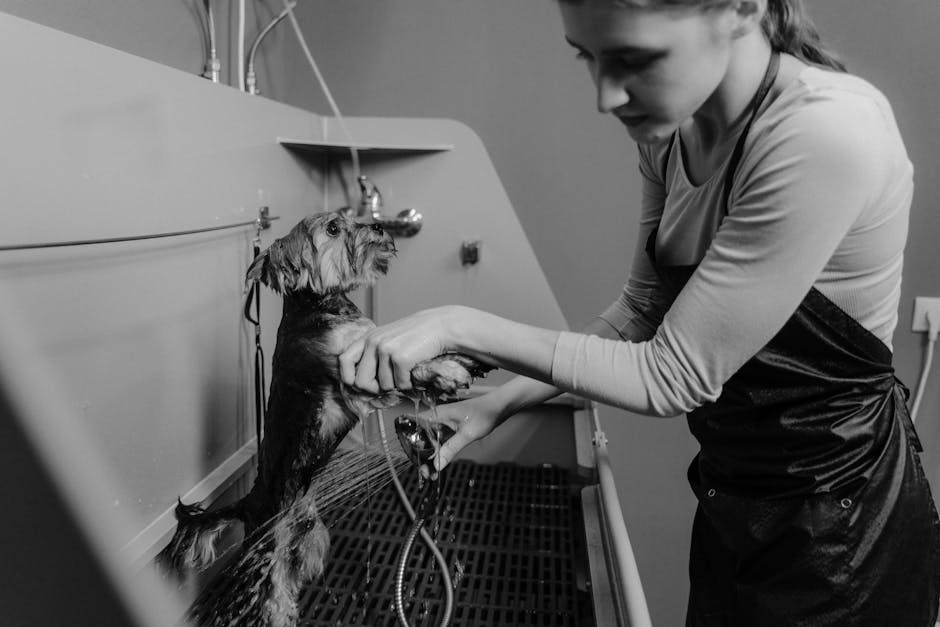
If DIY isn’t working—or you want better results without the stress—store-bought grooming can be a strong option.
Professional grooming: how to get better results faster
When you book, ask these questions:
- “Do you check for mats before starting?”
- “Do you use a non-slip table and calm handling?”
- “Can you match the style from my last visit?”
- “What’s the plan if my pet gets stressed?”
Bring a photo of your preferred cut. Many groomers love a clear target.
Ready-made grooming kits: what they can’t fix
Store-bought grooming kits help with routines, especially brushes, shampoos, and nail tools. But a kit doesn’t teach technique.
That’s why I like kits for “maintenance days,” not for fixing big mat issues or doing your first full haircut.
My favorite “mix and match” approach
This is the angle I rarely see in other comparisons: use store-bought grooming for the parts you can’t do safely, then do the maintenance at home.
Example routine that works for many households:
- At-home weekly brushing (10 minutes)
- At-home bath every 3–6 weeks
- Professional trim every 6–12 weeks, depending on coat
You get better results with less cost than paying for a full groom every time.
People Also Ask: DIY vs. store-bought pet grooming
Is DIY pet grooming cheaper than store-bought grooming?
Usually yes, especially if you groom the same pet regularly. The upfront cost for tools is the main jump, but after you spread it across sessions, your per-visit cost can be much lower than a full groom appointment.
If your pet has heavy mats that require frequent pro cleanups, DIY can get expensive fast. In that case, you may need a professional reset, then DIY maintenance afterward.
Will my pet be more comfortable with DIY grooming?
More often, yes—because it’s in a familiar space with your routine. Comfort also depends on how you handle fear. Going slow and keeping early sessions short is what makes DIY feel safe.
If your pet panics every time you bring out clippers, DIY haircuts can hurt your pet’s trust. For those pets, store-bought grooming for haircuts makes more sense.
Can I get salon-level results at home?
You can get clean, healthy results at home, but “salon-level” haircut blending takes practice. For many pets, a well-maintained trim plus frequent brushing beats a fancy haircut done once.
Set realistic goals: even coat, no mats, clean nails, and a coat that looks neat. That’s a win.
What’s safer for nails: trimming or grinding?
Both can be safe when you learn. Grinding tends to be gentler if you do short passes and avoid overheating, and it can help reduce sharp edges. Trimming can work well too, but rushing increases the chance of hitting the quick.
If your pet has dark nails and you’re unsure where the quick is, grinding slowly is often easier to control.
How often should I groom DIY vs. store-bought?
Routine grooming matters more than the “type” of grooming. Many coats do best with brushing 1–3 times per week, baths every 3–6 weeks (depending on lifestyle), and nail checks every 1–2 weeks.
Professional trims often land every 6–12 weeks, but some coats need it sooner. If you’re not sure, use your last groom as a guide and ask your groomer what schedule they recommend.
When you should stop DIY and call a pro (or your vet)
DIY is great until it becomes risky. Knowing when to pause keeps your pet safe.
- Deep mats: If mats are stuck close to the skin, don’t pull. A pro can remove them safely.
- Skin irritation or hot spots: Grooming can worsen inflammation.
- Ear discharge or strong smell: That needs a vet, not a home “cleaning day.”
- Frequent nail bleeding: If you’re hitting the quick often, switch tools and slow down, or get help.
- Extreme fear: If your pet is panicking, the stress itself can cause health issues. A skilled groomer can sometimes reduce fear through handling.
I’ve seen people stubbornly keep going when their dog is clearly overwhelmed. That’s how fear becomes a habit. A calm pet is the real goal.
Choosing your best setup: a practical decision guide
Use this quick guide to pick the right mix of DIY and store-bought pet grooming.
If your main goal is saving money
- DIY: brushing, bathing, nail maintenance
- Store-bought: professional haircut or de-matting when needed
If your main goal is comfort and less stress
- DIY: short sessions at home, especially for brushing and nail touch-ups
- Store-bought: book a groom your pet can handle, ask about calm handling
If your main goal is “the coat always looks right”
- Store-bought: trims and cleanup every set interval
- DIY: keep shedding and mat risk down with frequent brushing
The best plan depends on coat type, temperament, and how fast your pet’s hair grows. A long-haired cat that mats weekly needs a different schedule than a short-haired dog that sheds lightly.
Final takeaway: the best grooming plan is usually a hybrid
If you’re deciding between DIY vs. store-bought pet grooming, here’s my clear advice from real-world routines: do DIY for the steps you can repeat gently, and pay for store-bought grooming when skill, tools, or safety matter.
Start small this week. Brush for 10 minutes. Check nails once. Do a comfort-first bath if your pet tolerates it. Then use a professional groomer for haircuts or mat removal when it’s needed. That combo keeps costs down, keeps pets calm, and makes results look better in the long run.
If you want related care tips, check out our posts on grooming desensitization for nervous pets and why pets get itchy and how to spot skin problems early. For home lifestyle routines, you might also like shedding control tips that don’t involve buying a new robot vacuum.
Featured image alt text suggestion: “DIY vs. store-bought pet grooming comparison with brushes, clippers, and a calm dog getting dried”