


Quick answer: In most pet emergencies, your job is simple: keep your pet safe, stop serious bleeding if you can, don’t give risky medicines, and get to a vet fast. Timing matters more than “perfect” first aid.
I learned this the hard way in 2026 after a neighbor’s dog got into a trash bag. By the time we realized what happened, the first 30 minutes were already gone. We did a few basic steps right, skipped the wrong ones, and that made the vet’s job easier.
Below is a home-first-aid guide for common pet emergencies—plus the stuff that sounds helpful but can actually cause more damage. This is written for real homes with real pets. Still, if your pet looks very sick, you should call an emergency vet or a pet poison hotline right away.
First Aid at Home for Pets: Your role in the first 10 minutes
First aid at home for pets is about buying time until professional care. It also helps you avoid accidental harm while you’re panicking.
In the first 10 minutes, focus on four steps: check breathing, check bleeding, check temperature/major pain signals, and control the situation. Breathing comes first because a pet that can’t get air needs immediate help.
Step-by-step: the “check, control, call” plan
- Check breathing: Watch your pet’s chest. Look for normal breaths, open-mouth breathing, or struggling.
- Check bleeding: Look for blood that soaks fur or drips. Quick control matters.
- Check alertness and pain: Is your pet awake and responsive, or collapsed, shaking, or crying hard?
- Control the scene: Move kids and other pets away. Put your pet on a towel or blanket if you can do it safely.
Then make the call. If you’re unsure, call your vet’s after-hours line, a nearby emergency clinic, or a pet poison service. If poisoning is possible, don’t wait for symptoms to appear.
What to do for bleeding, cuts, and suspected fractures
Bleeding control is one of the most useful home skills you can have. If blood loss is happening, you need a clean plan right now.
For small cuts, you can rinse with clean running water. For deeper wounds or heavy bleeding, you want pressure and speed.
How to stop bleeding safely (pressure beats “stuffing”)
Here’s what I do when there’s active bleeding and the wound is reachable:
- Apply firm pressure with clean gauze or a clean cloth.
- Hold steady for 3–5 minutes without constantly checking.
- If blood soaks through, add more layers. Don’t pull the first layer off.
- Wrap loosely after bleeding slows. Keep toes (if it’s a leg) visible so you can monitor.
If the wound is on a limb and you can’t stop the bleeding in 10 minutes, treat this as urgent. Go in.
What most people get wrong: Many people try to clean a gusher with hydrogen peroxide. In real life, it often irritates tissue and can slow healing. Plain water is safer for rinsing.
When to suspect a fracture and how to handle it
Fracture signs include severe limping, a limb that looks bent, or your pet yelping when touched. Some pets also go stiff and won’t move.
If you suspect a fracture:
- Don’t force movement to “test” it.
- Support the body on a blanket like a stretcher.
- Keep your pet warm (a dry towel helps) but don’t overheat.
For brachycephalic breeds (bulldogs, pugs) and small dogs, gentle handling matters even more because stress and heat can worsen the situation fast.
Choking and breathing trouble: the part you must get right
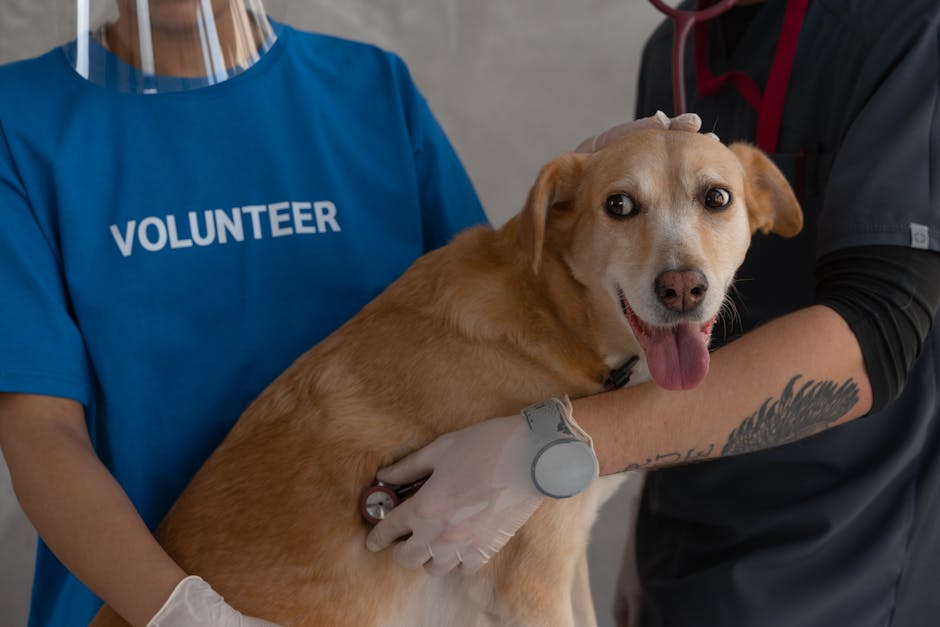
Choking and breathing trouble can become deadly fast. Your first aid steps need to protect the airway, not just “try something.”
Signs include loud gagging, blue or pale gums, pawing at the mouth, or a coughing fit that won’t settle. If your pet can’t breathe, treat it as an emergency.
For pets that can cough: keep them calm
If your pet is making sounds and moving air, let them cough. Don’t shove fingers into the mouth. I know it feels like you should look inside, but that can push the object farther back.
Grab your phone and call for help if it doesn’t improve quickly. If you can safely remove something visible at the front of the mouth, do it. Otherwise, focus on transport.
For pets that can’t breathe: what to do (and when)
If your pet is gasping or you see no air movement, you may need CPR. CPR details vary by size and species, so it’s smart to ask your vet for a quick demonstration or watch a clinic-approved video.
As a home rule:
- If you can see a clear object at the front, remove it carefully.
- If you can’t see it and breathing is failing, start CPR if you’re trained or have step-by-step guidance from the emergency team on the phone.
If you want a deeper guide for life-saving preparation, pair this with our home safety tips on home safety for pets (it’s the same idea: prevention + quick action).
Heatstroke, hot cars, and “summer emergencies” at home
Heatstroke is one of the most preventable emergencies—and one of the fastest to get serious. It’s also a big reason I’m strict about shade, water, and timing during 2026.
Signs include heavy panting, drooling, bright red gums, weakness, vomiting, and collapse. Some pets get heat trouble after intense play even when it’s not “that hot.”
Cooling basics: cool the body, don’t freeze it
Your goal is to lower temperature safely. Here’s the approach that’s practical in a home:
- Move to shade or indoors immediately.
- Offer small amounts of cool water only if they’re alert and swallowing.
- Cool the body with cool (not ice-cold) water on the belly, armpits, and groin. A damp towel works.
- Use airflow like a fan blowing across the wet coat.
Do not wrap in ice packs or use ice water. Extreme cold can shock the body and make things worse.
Hot car reality check
A pet in a hot car can become an emergency quickly, even on days that “seem fine.” Cracking a window helps a little, but it doesn’t make it safe.
If you see a pet locked in a car and they look distressed, call local help right away. Time is everything.
Poisoning at home: act fast, gather the right info, don’t guess
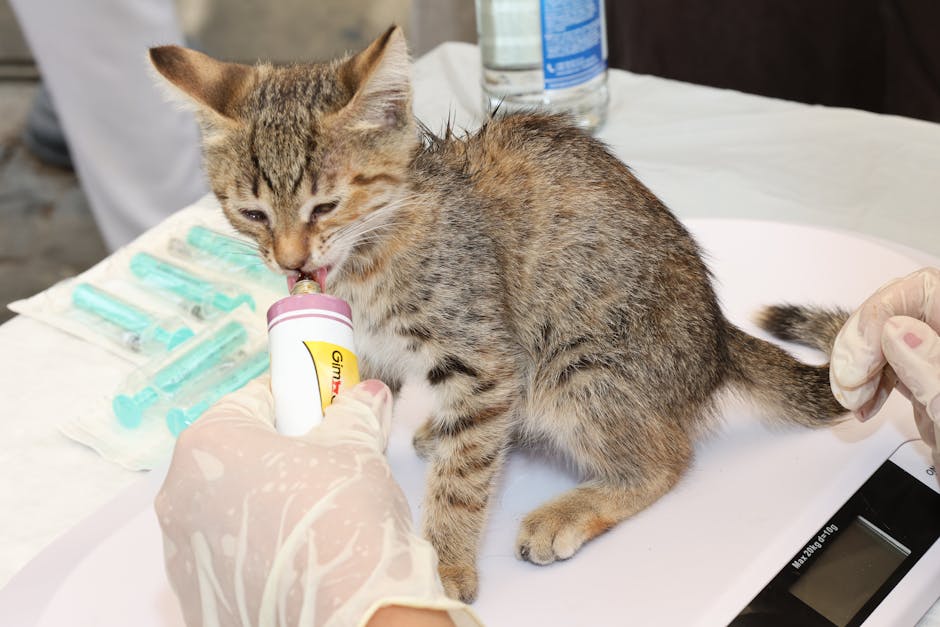
Poisoning is where “helpful” mistakes happen most. Your best first aid is smart information and fast professional advice.
Common household danger items include human painkillers (especially ibuprofen and acetaminophen), weed killers, xylitol (found in some sugar-free gum and snacks), lilies (for cats), certain essential oils, and some foods like chocolate and grapes/raisins.
First aid for suspected poisoning: the 3 things to do immediately
- Remove your pet from the source. Turn off the area, close doors, and keep them away from anything still leaking or spilled.
- Collect proof. Take a photo of the product label, the amount you think was eaten, and the time you found your pet.
- Call for instructions. Contact your vet, an emergency clinic, or a pet poison hotline for step-by-step guidance.
If you suspect a cat or dog swallowed a toxin, don’t wait for symptoms. Many toxins cause damage even when the pet looks “okay” at first.
What not to try for poisoning (this part saves lives)
- Don’t make your pet vomit unless a vet or poison expert tells you to. Some toxins burn on the way up.
- Don’t give random home remedies like salt, alcohol, oils, or milk. These can worsen things.
- Don’t “neutralize” chemicals with household cleaners. Mixing products can create new hazards.
If you’re dealing with a known toxin, you’ll often be told whether to rinse the mouth, bathe the skin/coat, or bring your pet in for treatment right away.
Seizures and sudden collapse: what you can do while waiting for the vet
When a pet has a seizure, the main danger is injury—not the seizure itself. Your job is to keep them from banging their head or choking on their own saliva.
Seizure signs include paddling legs, stiffening, drooling, and loss of awareness. Many seizures end on their own, but some need urgent care.
How to help during a seizure (and what to stop doing)
- Time it. Use your phone timer. Most seizures last under 2 minutes, but the length matters.
- Clear hazards around them. Move furniture and keep other pets away.
- Don’t grab their tongue. Pets can’t “swallow” their tongue, and your fingers can get injured.
- Don’t put water or food in their mouth. It can be aspirated (breathed into the lungs).
After the seizure, some pets feel confused and may be extra scared. I recommend keeping the room quiet and dim.
When seizures need emergency treatment
Go to urgent care if:
- The seizure lasts more than 5 minutes.
- There are repeated seizures without full recovery between.
- Your pet has trouble breathing after, collapses again, or seems severely ill.
This is also a good moment to connect dots. If your pet has had seizures before, you can use this time to review your vet’s seizure action plan and medication schedule.
What not to do in emergencies: the “bad ideas” list
In a crisis, it’s easy to do something well-meant that makes the situation worse. These are the mistakes I see again and again.
Never give these at home (unless your vet specifically told you)
| What people try | Why it’s risky | Safer option |
|---|---|---|
| Human painkillers (ibuprofen, naproxen, acetaminophen) | Can damage the stomach, kidneys, and liver fast | Call your vet; they’ll advise correct dosing if needed |
| Essential oils on skin | Many are toxic or cause irritation and breathing issues | Keep your pet away from the area; ventilate |
| Hydrogen peroxide to “clean” deep wounds or poison | Can irritate tissue and cause vomiting in some cases | Rinse with clean water and get vet guidance |
| Random antibiotics | Wrong drug can delay real care | Vet exam and proper treatment |
| Forcing food or water | Can cause choking and aspiration | Small sips only if fully alert and swallowing |
Don’t delay transport for DIY fixes
Some pets need in-clinic care quickly: breathing problems, severe bleeding, suspected internal injury, toxin ingestion, or repeated vomiting. If your pet looks worse after your first steps, don’t “wait and see.”
One experience I keep thinking about: a cat with a swollen belly after eating something it shouldn’t. Owners tried home monitoring for hours. By the time they arrived, the situation was urgent. If a vet says “come now,” treat it like a fire alarm.
People also ask: common pet first aid questions
Should I induce vomiting if my pet ate something toxic?
No, not on your own. Inducing vomiting can be dangerous for certain toxins (like caustic cleaners, oils, or sharp objects). The correct action depends on the toxin, the dose, and how long ago it happened.
Call your vet or a pet poison hotline first and follow their instructions.
What do I do if my dog ate chocolate?
Chocolate is a true emergency depending on the amount and type. Milk chocolate may be less dangerous than baking chocolate, but even smaller amounts can be serious for small dogs.
Get the package info (or count bites) and call for guidance right away. Don’t wait for symptoms.
Can I give my pet Benadryl for allergy symptoms?
Sometimes vets recommend antihistamines, but dosing depends on your pet’s weight and the reason for the reaction. A true emergency like swelling of the face, repeated vomiting, or trouble breathing needs immediate care.
If your vet has previously told you exactly what to give and how much, follow that plan. Otherwise, call first.
How can I tell if it’s heatstroke or just overheating?
Heatstroke usually includes more serious signs: weakness, collapse, vomiting, very heavy panting, and abnormal gum color. Overheating from a hot day can still progress, so if your pet is struggling, start cooling and get advice.
Use active steps, not guessing.
Build a pet first aid kit (so you’re not scrambling)
A kit doesn’t need to be huge. It needs to be ready when you need it fast. In 2026, I still recommend putting a small kit in the same place every time so you don’t waste minutes searching.
Here’s a practical starter list for most households:
- Gauze pads and rolled bandage
- Non-stick wound pads
- Medical tape (paper tape works for many pets)
- Saline solution for rinsing
- Gloves (nitrile)
- Digital thermometer (rectal for pets is the accurate method, but ask your vet for guidance)
- Twice-fold towel for moving/comfort
- Pet-safe disinfectant (or just plan to rinse with water until vet advice)
- Checklists with your vet and emergency clinic numbers
- Blanket for warmth and transport
- Small syringe (for controlled mouth/eye rinse only if your vet tells you)
If you want to prevent the most common household emergencies, you may also like our post on pet-proofing your home. It pairs well with first aid because fewer accidents means fewer rushed decisions.
Practice now: the “dry run” that reduces panic
Panic steals good judgment. A short practice session helps you stay calmer if something real happens.
I suggest a 15-minute dry run once or twice a year. Use a regular towel and practice moving your pet onto it like a stretcher. Practice applying pressure on a non-injured area (with a pretend wound) so you know what “firm pressure” feels like.
Also, store your phone with the vet saved as a contact. If you use a pet microchip service, make sure your contact info is current.
When to go to the emergency vet immediately
Some situations are not “wait and see.” If you notice these signs, treat it as urgent:
- Breathing trouble (open-mouth breathing, blue/pale gums, repeated gasping)
- Severe or uncontrolled bleeding
- Poisoning exposure (even if your pet seems okay)
- Collapse, extreme weakness, or unresponsive behavior
- Repeated vomiting or vomiting blood
- Seizures longer than 5 minutes or repeated episodes
- Severe pain (won’t settle, cries when touched, tense belly)
If you’re unsure, call. Fast advice is better than perfect guesswork.
Takeaway: be calm, be ready, and don’t gamble with risky “home fixes”
First aid at home for pets works best when it’s simple. Check breathing first, control major bleeding, and get professional help quickly when the signs are serious.
Most importantly, skip the “DIY rescue” ideas that can cause harm—especially for poisoning and anything involving vomiting, human medicine, or forced feeding. Keep a small first aid kit, save emergency numbers, and practice moving your pet safely. When the real emergency happens, you’ll already know what to do with your hands and your head.
If you want the prevention side too, pair this article with a pet health checklist from our blog. It helps you catch small problems early—before they turn into emergencies.
