

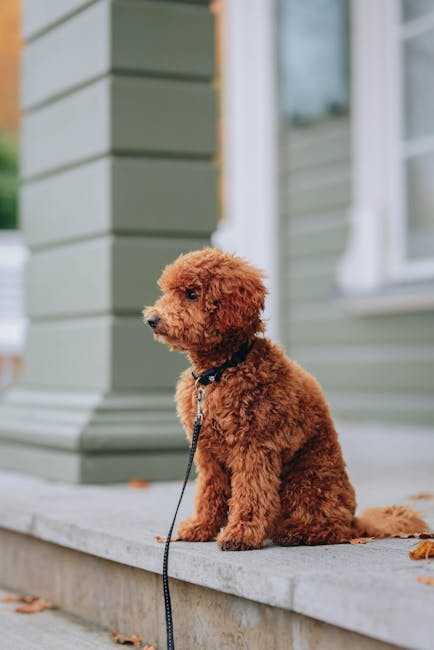
What leash training really is (and why pulling happens)
Leash training is teaching your dog (or puppy) how to move calmly while a leash connects you. Pulling is usually not “bad behavior.” It’s often excitement, fear, poor timing, or simply that the leash has never taught clear rules.
In my own home, the biggest turning point wasn’t buying a fancy tool. It was learning to notice what comes right before the pull. For one dog I worked with, the first pull started at the exact moment he spotted another dog. That gave me a clear plan for prevention, not punishment.
If your pet freezes when the leash comes out, that’s a fear response. Fear doesn’t improve with “more walking.” It improves with small wins, calm setup, and safety-first reps.
Step 1: Set up the gear so success is possible
The right setup makes leash training easier and safer. Start simple. Use a flat collar or a well-fitting harness and a leash you can control without wrestling your pet.
My go-to for most households: a comfortable harness plus a 4–6 ft leash. I like a harness because it reduces pressure on the neck and makes it harder for a dog to slip out. If your dog already backs out of harnesses, get one with secure straps and practice fitting at home first.
For puppies, I keep sessions short and focus on leash “handling” instead of long walks. For adults with fear, I slow down and treat the leash like a safety tool, not a rule.
Quick fit checks (so it doesn’t rub or choke)
- Harness straps: snug, not tight. You should be able to fit two fingers under the strap.
- Collar: tight enough not to slide off, loose enough not to press into the throat.
- Leash length: start with 4–6 ft indoors or in the yard. Longer lines come later.
What most people get wrong about tools
People often jump straight to “correction” tools when the real need is calm communication. If your dog pulls from fear, pressure and sudden yanks can teach the dog that the leash is scary. That’s the opposite of what we want.
Also, avoid using a leash as a tug toy. If your dog learns that leash tension games are fun, pulling gets reinforced every time you go outside.
Step 2: Teach leash basics indoors before you ever leave the yard
Start inside because you control distractions. Outside is full of surprises—smells, sights, sounds—and fear often shows up fast. Indoors, you can build trust with predictable reps.
Definition that helps: “Marker” training is when you use one short cue (like “yes”) to tell your pet, “That was right.” Then you reward right away.
Exercise A: Leash on, calm body, treat rain (60–120 seconds)
- Clip the leash or put it through the harness.
- Wait for any calm moment (even a half-second).
- Say “yes” and give a small treat.
- Repeat 8–12 times.
If your dog freaks out when the leash clicks, go back a step: handle the leash near your body for a few seconds first, then reward. You’re aiming for “calm shows up more often,” not “dog stays perfect.”
Exercise B: Follow the treat, not the tension
- Hold a treat at your dog’s nose level.
- Take one step forward.
- Reward when your dog’s body stays loose and close.
- If there’s tension, turn your body slightly and reset.
This teaches your pet that being near you is the easy path. You’re not asking for a perfect heel yet. You’re training “loose leash, keep moving.”
Step 3: Reduce pulling by rewarding “loose leash” in real time
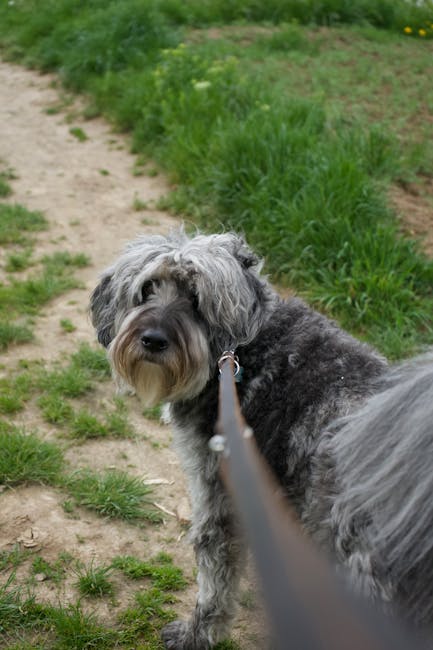
The main goal is simple: reward the moment the leash goes slack. That slack is the behavior you want, and it’s measurable.
Here’s my step-by-step method that works for most dogs: stop, reset, and reward slack. No yelling. No dragging. Just clear cause-and-effect.
The loose-leash rule (use this every walk for 1–2 weeks)
- Start walking at your dog’s normal pace.
- When the leash stays loose for a moment, say “yes” and reward.
- If your dog pulls and tension builds, stop moving.
- When your dog comes back toward you (or the tension releases), reward and start again.
This teaches: “If you pull, the fun pauses. If you keep it loose, we move.” Dogs learn fast when the feedback is consistent.
Timeframe note (2026 best practice): In many cases, owners see improvement in 7–14 days if they use the rule every time. Severe fear or reactivity may take longer, but the method still reduces chaos.
Example: the “doorway to the driveway” drill
One client’s dog pulled so hard in the driveway that they couldn’t reach the sidewalk. We practiced the last 20 feet only. We walked to the edge of the driveway, then turned around before the big trigger zone. Each day, we added 5 feet when the leash stayed loose.
That approach beats “random long walks.” It builds confidence and teaches your dog that you decide when the environment gets bigger.
Step 4: Handle fear without forcing the walk
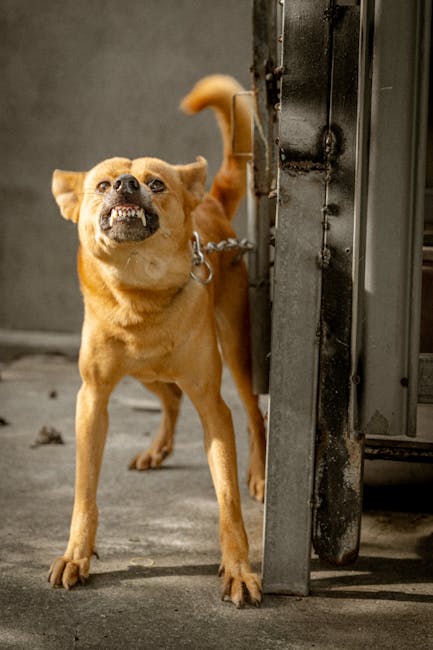
If your dog is scared, the leash training plan needs a lighter touch. Fear training is about helping your pet feel safe enough to choose calm.
Fear doesn’t mean “don’t train.” It means “train differently.” The rule is to keep your dog under the stress level where they can learn. When dogs are too overwhelmed, they can’t focus on treats.
Find your pet’s stress line (a practical way)
Watch for signs like lip licking, turning away, freezing, whining, tucked tail, or sudden lunging. Those are your “too much” signals.
Your job is to choose a distance and a timing where your pet can notice the trigger and still take food. If they won’t eat, you’re too close or it’s too soon.
Fear-friendly leash training steps (slow reps)
- Start farther away: Stand at a safe distance from the scary thing.
- Mark and reward calm: The moment your dog looks toward the trigger and stays soft, say “yes” and reward.
- Build duration, not pressure: Increase the time by 10–20 seconds only when your dog stays focused.
- Make walking optional: If they panic, end the session calmly and try again later.
Small wins matter. I’ve seen dogs improve because the owner stopped “pushing through” panic and started leaving one step earlier.
Step 5: Prevent re-pulling with better timing and faster rewards
Most leash problems keep coming back because timing is off. If you reward half a second too late, your dog might think you’re rewarding pulling or looking at the trigger.
Use high-value treats for the first week outdoors. Think chicken, cheese bits, or a meat-based treat. For some dogs, kibble works at home but fails outside.
Use a simple “watch and feed” schedule
- When your dog checks in with you (eyes on you), reward immediately.
- When the leash stays slack, reward once every few steps.
- When tension starts, decrease rewards and stop moving.
Don’t overfeed all at once. Keep treats small so your dog stays motivated and doesn’t get a stomach upset. If your dog is food sensitive, use tiny training treats.
People Also Ask: Leash training and fear
How long does leash training take to stop pulling?
Many owners see real changes in 1–2 weeks when they use the loose-leash rule consistently. Full improvements usually take 4–8 weeks because dogs generalize slowly.
If your dog pulls mostly at certain triggers (like other dogs, bikes, or stairs), expect longer. Those cases need trigger-specific practice, not just “more walks.”
Why is my dog afraid to go on walks even with a leash?
Fear can come from past experiences, pain, or overstimulation. A dog might also fear the harness, the leash sound, or the route.
One common real-world pattern I see: the dog is okay in the yard but panics near the sidewalk. That often means the sidewalk brings a new set of sights and sounds that are too intense at first.
If your dog shows pain signs (limping, sudden yelping, or refusing to put weight on a leg), rule out health issues with your vet before assuming it’s behavior.
Should I use a front-clip harness or a back-clip harness?
A front-clip harness can help reduce pulling by redirecting your dog’s momentum. A back-clip harness can work great for dogs who are only moderately strong.
My opinion after working with lots of leash setups: if your dog is fear-based or extremely reactive, don’t choose tools based only on “stopping power.” Choose tools that keep your dog comfortable enough to take treats and learn.
If you’re unsure, start with back-clip for calm dogs and switch later if you need more control.
Will treats ruin leash training?
No. Treats are how you teach the rule in the first place. After your dog learns the behavior, you can fade treats gradually while still rewarding “checks in” and slack-leash moments.
A good plan: reward every 2–5 steps at first, then move to every 5–10 steps, then occasional rewards. The leash rules stay the same.
What if my dog stops walking when the leash is on?
That’s often fear, not stubbornness. Start by practicing leash on at home until your dog can move freely without panic.
Then step into the yard with the leash on and reward any forward movement. If your dog still freezes, lower the challenge: shorter distances, quieter time of day, and a farther starting point from triggers.
Step 6: Add structure with a “3-zone walk” routine
A lot of leash training fails because every walk is a brand-new test. A “3-zone walk” gives your dog predictable structure and reduces fear flare-ups.
Here’s the routine I use in 2026 for many families: split your route into three zones with different difficulty levels.
3-zone plan (easy → medium → hard)
- Zone 1 (easy): your driveway, quiet sidewalk, or yard edge. No big triggers.
- Zone 2 (medium): where you see some people or mild distractions.
- Zone 3 (hard): the busiest part with other dogs, loud traffic, or visual triggers.
Start with Zone 1 for several days. If leash tension is under control and your dog can focus, then add Zone 2. Only attempt Zone 3 after your dog is reliably calm in Zones 1 and 2.
Step 7: Make it stick with consistency at home and in daily life
Leash training is not just for outside. You’ll get faster results when you teach your dog that calm behavior earns attention and movement every day.
Daily habits that support leash training
- Practice “sit for the door” so your dog learns to pause before excitement.
- Do 2 minutes of leash handling at random times indoors.
- Reward quiet (calm lying down gets treats too).
- Short potty breaks first for fear dogs, then a short training walk.
Also, be honest about energy level. A bored dog will pull more. If your dog isn’t getting enough play or mental work, leash training becomes harder than it needs to be. Check out this related guide on stop boredom behavior in dogs for ideas you can do at home.
Common leash-training mistakes (and what to do instead)
When leash training goes backwards, it’s usually because one small habit keeps the pulling going.
| Common mistake | What it teaches | Better fix |
|---|---|---|
| Re-starting the walk while the leash is still tight | Pulling moves you forward | Stop until slack returns |
| Yanking or scolding during tension | Fear + confusion | Reduce distance, mark calm, reward slack |
| Rewarding after the dog already pulled | Pulling gets paid | Reward during slack and check-ins |
| Long walks too soon for fearful dogs | Too much stress to learn | Short sessions, closer to safety |
| Changing tools constantly | Mixed messages | Pick one setup and practice for 2 weeks |
If you’re dealing with fear, the “better fix” is almost always the same: lower the challenge, keep sessions short, and reward calm focus.
When to get help (and when health checks matter)
If your dog pulls with extreme force, growls or lunges hard, or shows panic that doesn’t improve after a few weeks, you should get help from a qualified trainer or behavior professional.
Also, don’t ignore pain. Pain can look like stubbornness or fear. If your dog suddenly changed leash behavior, limps, shakes, or refuses to move, talk to your vet first. For general pet wellness habits that support training, see yard safety and pain prevention.
Quick 7-day leash training plan you can start today
This is a simple plan for most dogs that are pulling or uneasy but still can take treats.
Use the same harness and leash. Keep sessions 5–10 minutes. Do 1–2 reps per day at first.
- Day 1: Indoor leash basics (clipping on + calm treats). Aim for calm, not perfection.
- Day 2: Indoor “step forward, reward slack.” Practice 10–15 reps.
- Day 3: Backyard/driveway walk. Use stop-and-reset for tension.
- Day 4: Same route, shorter distance. Add one extra minute only if leash stays mostly loose.
- Day 5: Practice check-ins: reward eye contact and calm body.
- Day 6: Add mild distractions (a person at distance, cars far away). Keep enough distance to eat treats.
- Day 7: One “easy zone” walk + one “medium zone” walk. End before your dog has a hard meltdown moment.
Here’s my original insight that changed results for me: track “tension moments,” not total walking time. If your dog had 10 tension moments in a 6-minute session, your goal for the next day is fewer tension moments—not longer walks. It keeps you honest and helps you adjust distance and timing.
Featured image alt text
Leash training 101: dog walking with loose leash and treats during fear-reduction practice
Conclusion: Use the loose-leash rule + calm reps to beat pulling and fear
If you want one takeaway, use this: reward slack leash and keep sessions easy enough for your dog to learn. Pulling reduces when the leash teaches clear cause-and-effect. Fear reduces when you stop forcing stress and start building safety through small wins.
Start with indoor basics today, then do a short yard walk using the stop-and-reset method. In a week, you’ll know what your dog’s stress triggers are—and that’s the fastest path to steady progress.
If you want more training support around daily routines, pair this with a training-focused article from our Pet Training category like positive reinforcement basics so your leash sessions stay consistent across the week.